

TL;DR – in short
- The best IKEA hacks are those that add “detail”: moldings, beading, rattan, new legs and handles.
- 80% of the effect is due to preparation: sanding, priming, good paint and even measurement.
- If you are afraid of tools, choose "no-cut" hacks (handles, veneers, overlays).
- For tall and heavy furniture: anchoring to the wall is not an option, but an obligation.
This is a list of 20 hacks (out of 42 inspirations) that actually look "carpenter-like" but can still be done in a normal apartment.
Introduction
IKEA is great, but sometimes… too correct. Everything is simple, even, "like everyone else's." IKEA hacks are designed to make this correctness something unique: adding texture, proportion, finishing, and the details that usually cost the most.
Below you will find 20 ideas with short instructions, difficulty level and a photo for each one.
1) Scallops on the TARVA chest of drawers
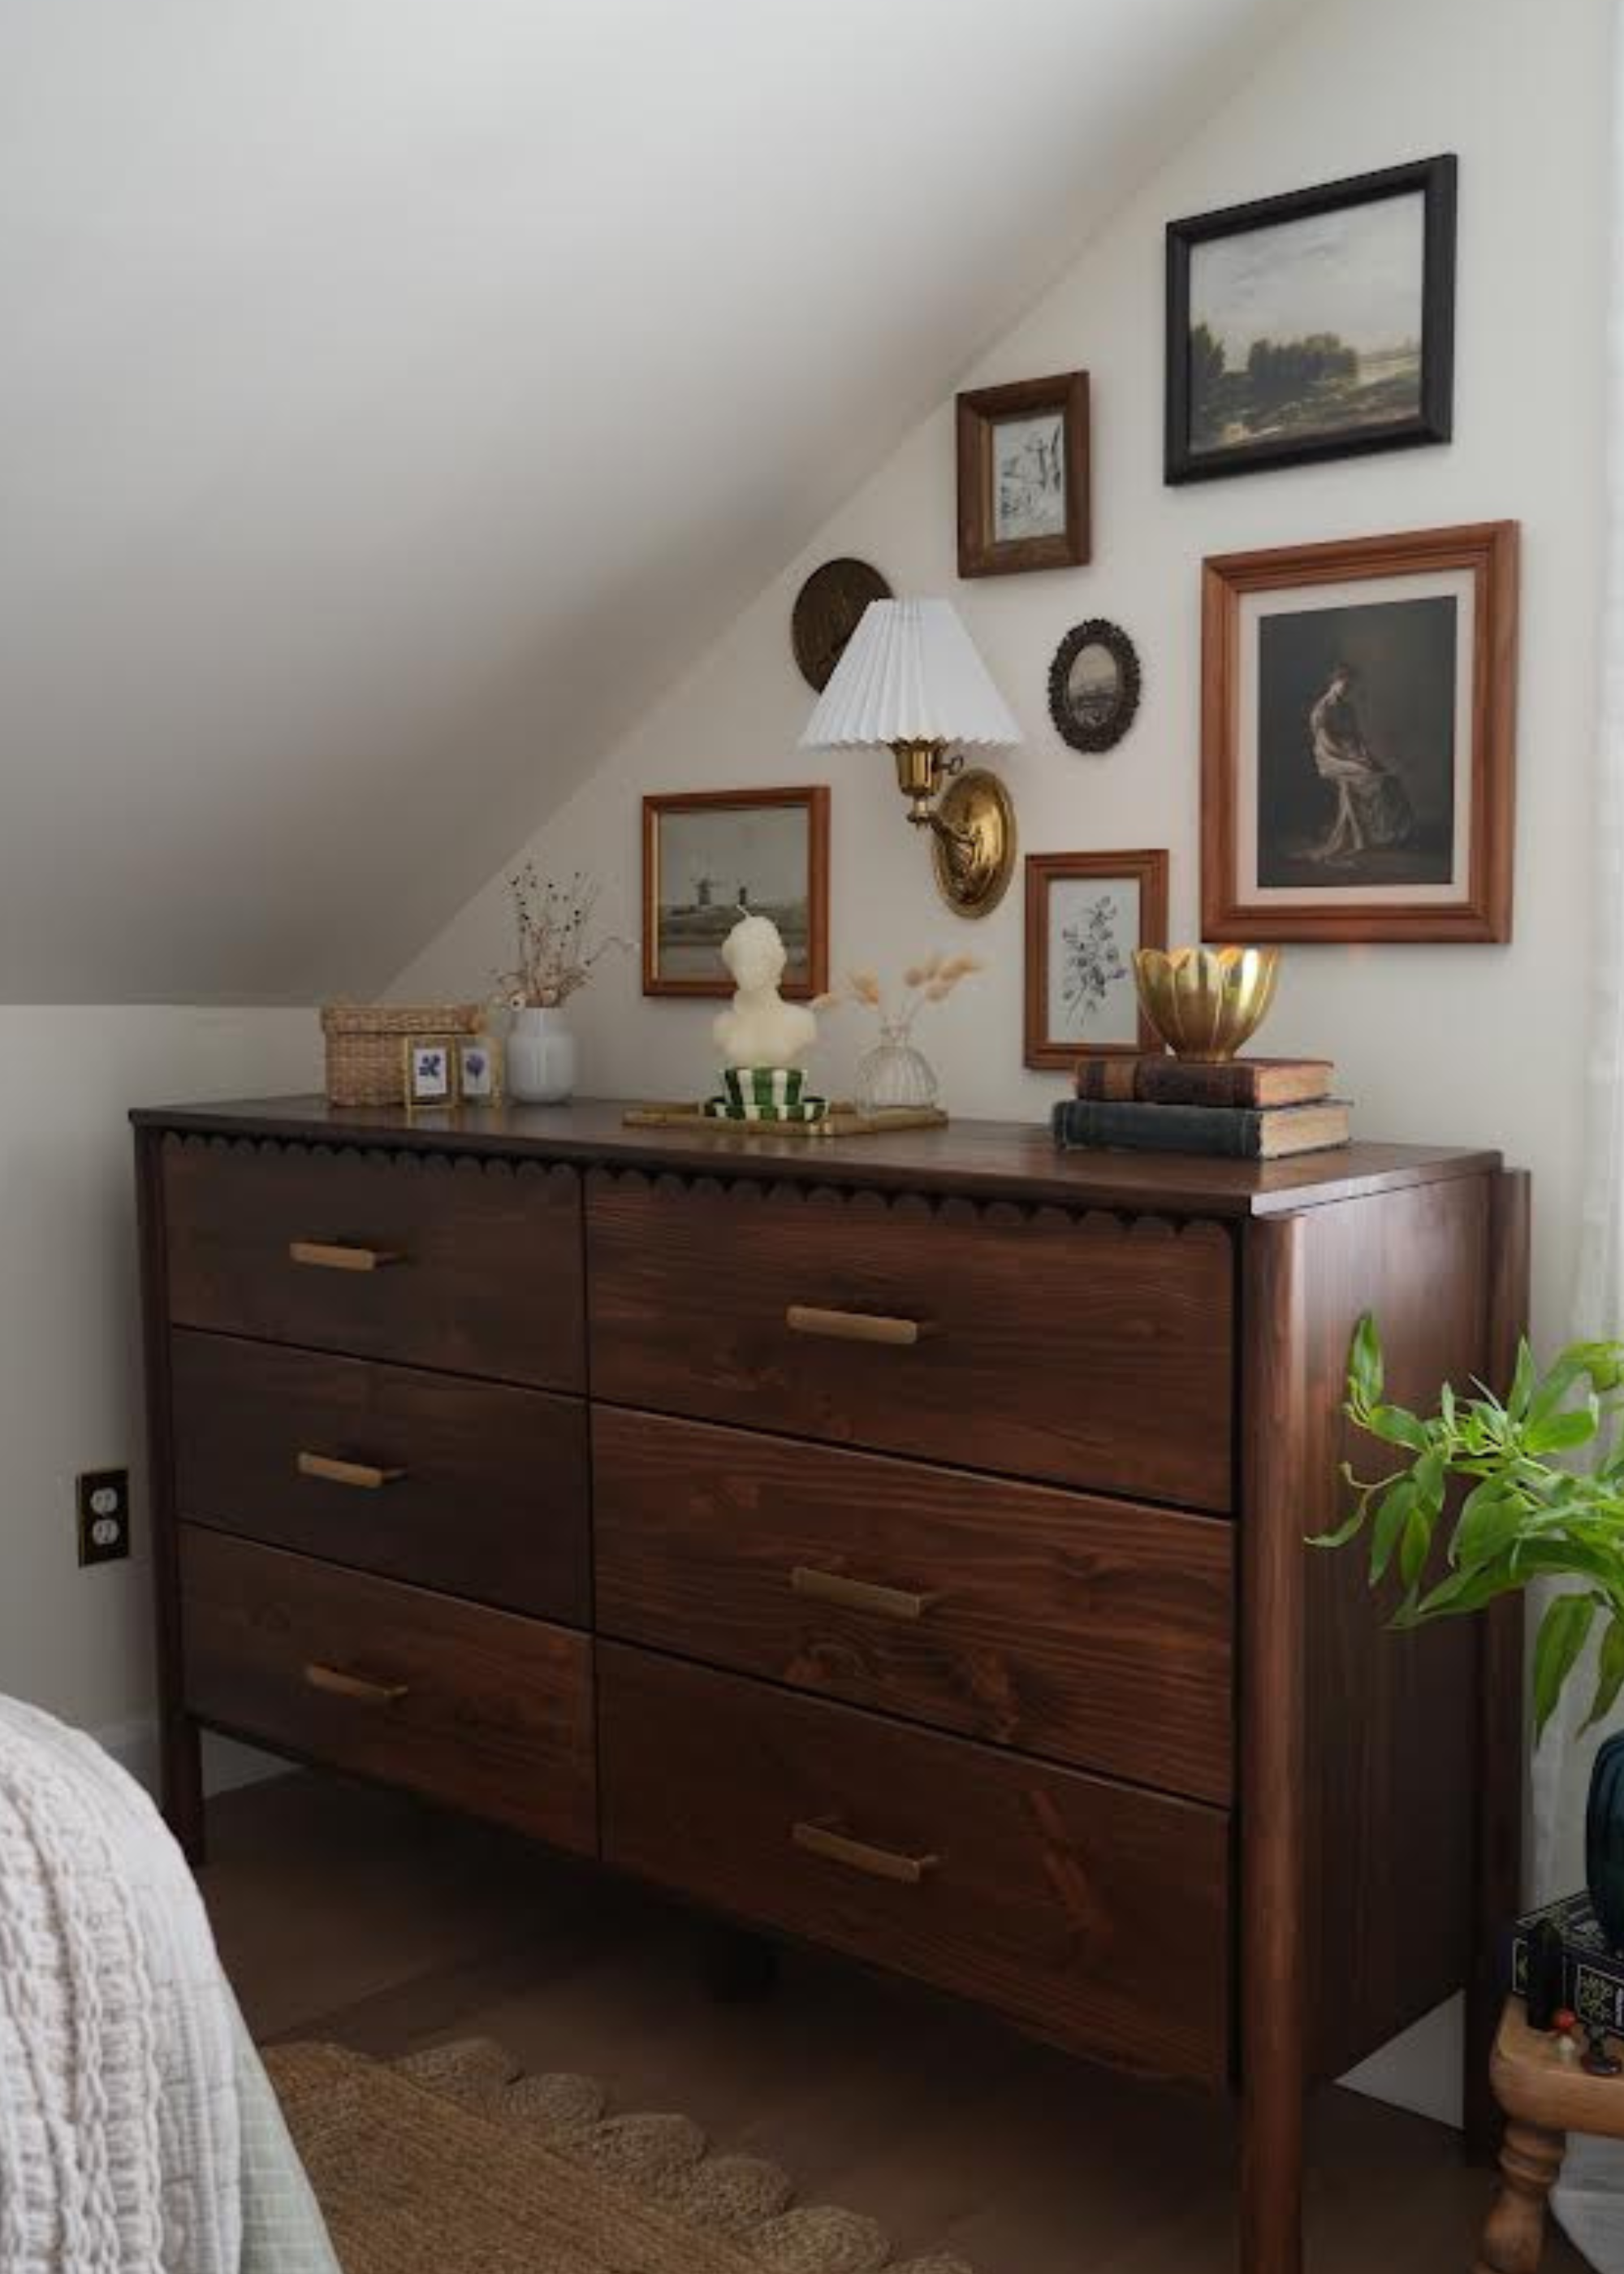
- Level: easy/medium
- What you do: draw a wave on the board, cut it out with a jigsaw, sand it smooth, stain or paint it, replace the handles and (optionally) the legs.
- Tip: First, make the ruffle on a piece of cardboard as a template. It saves you time.
2) Wall composition made of LACK shelves
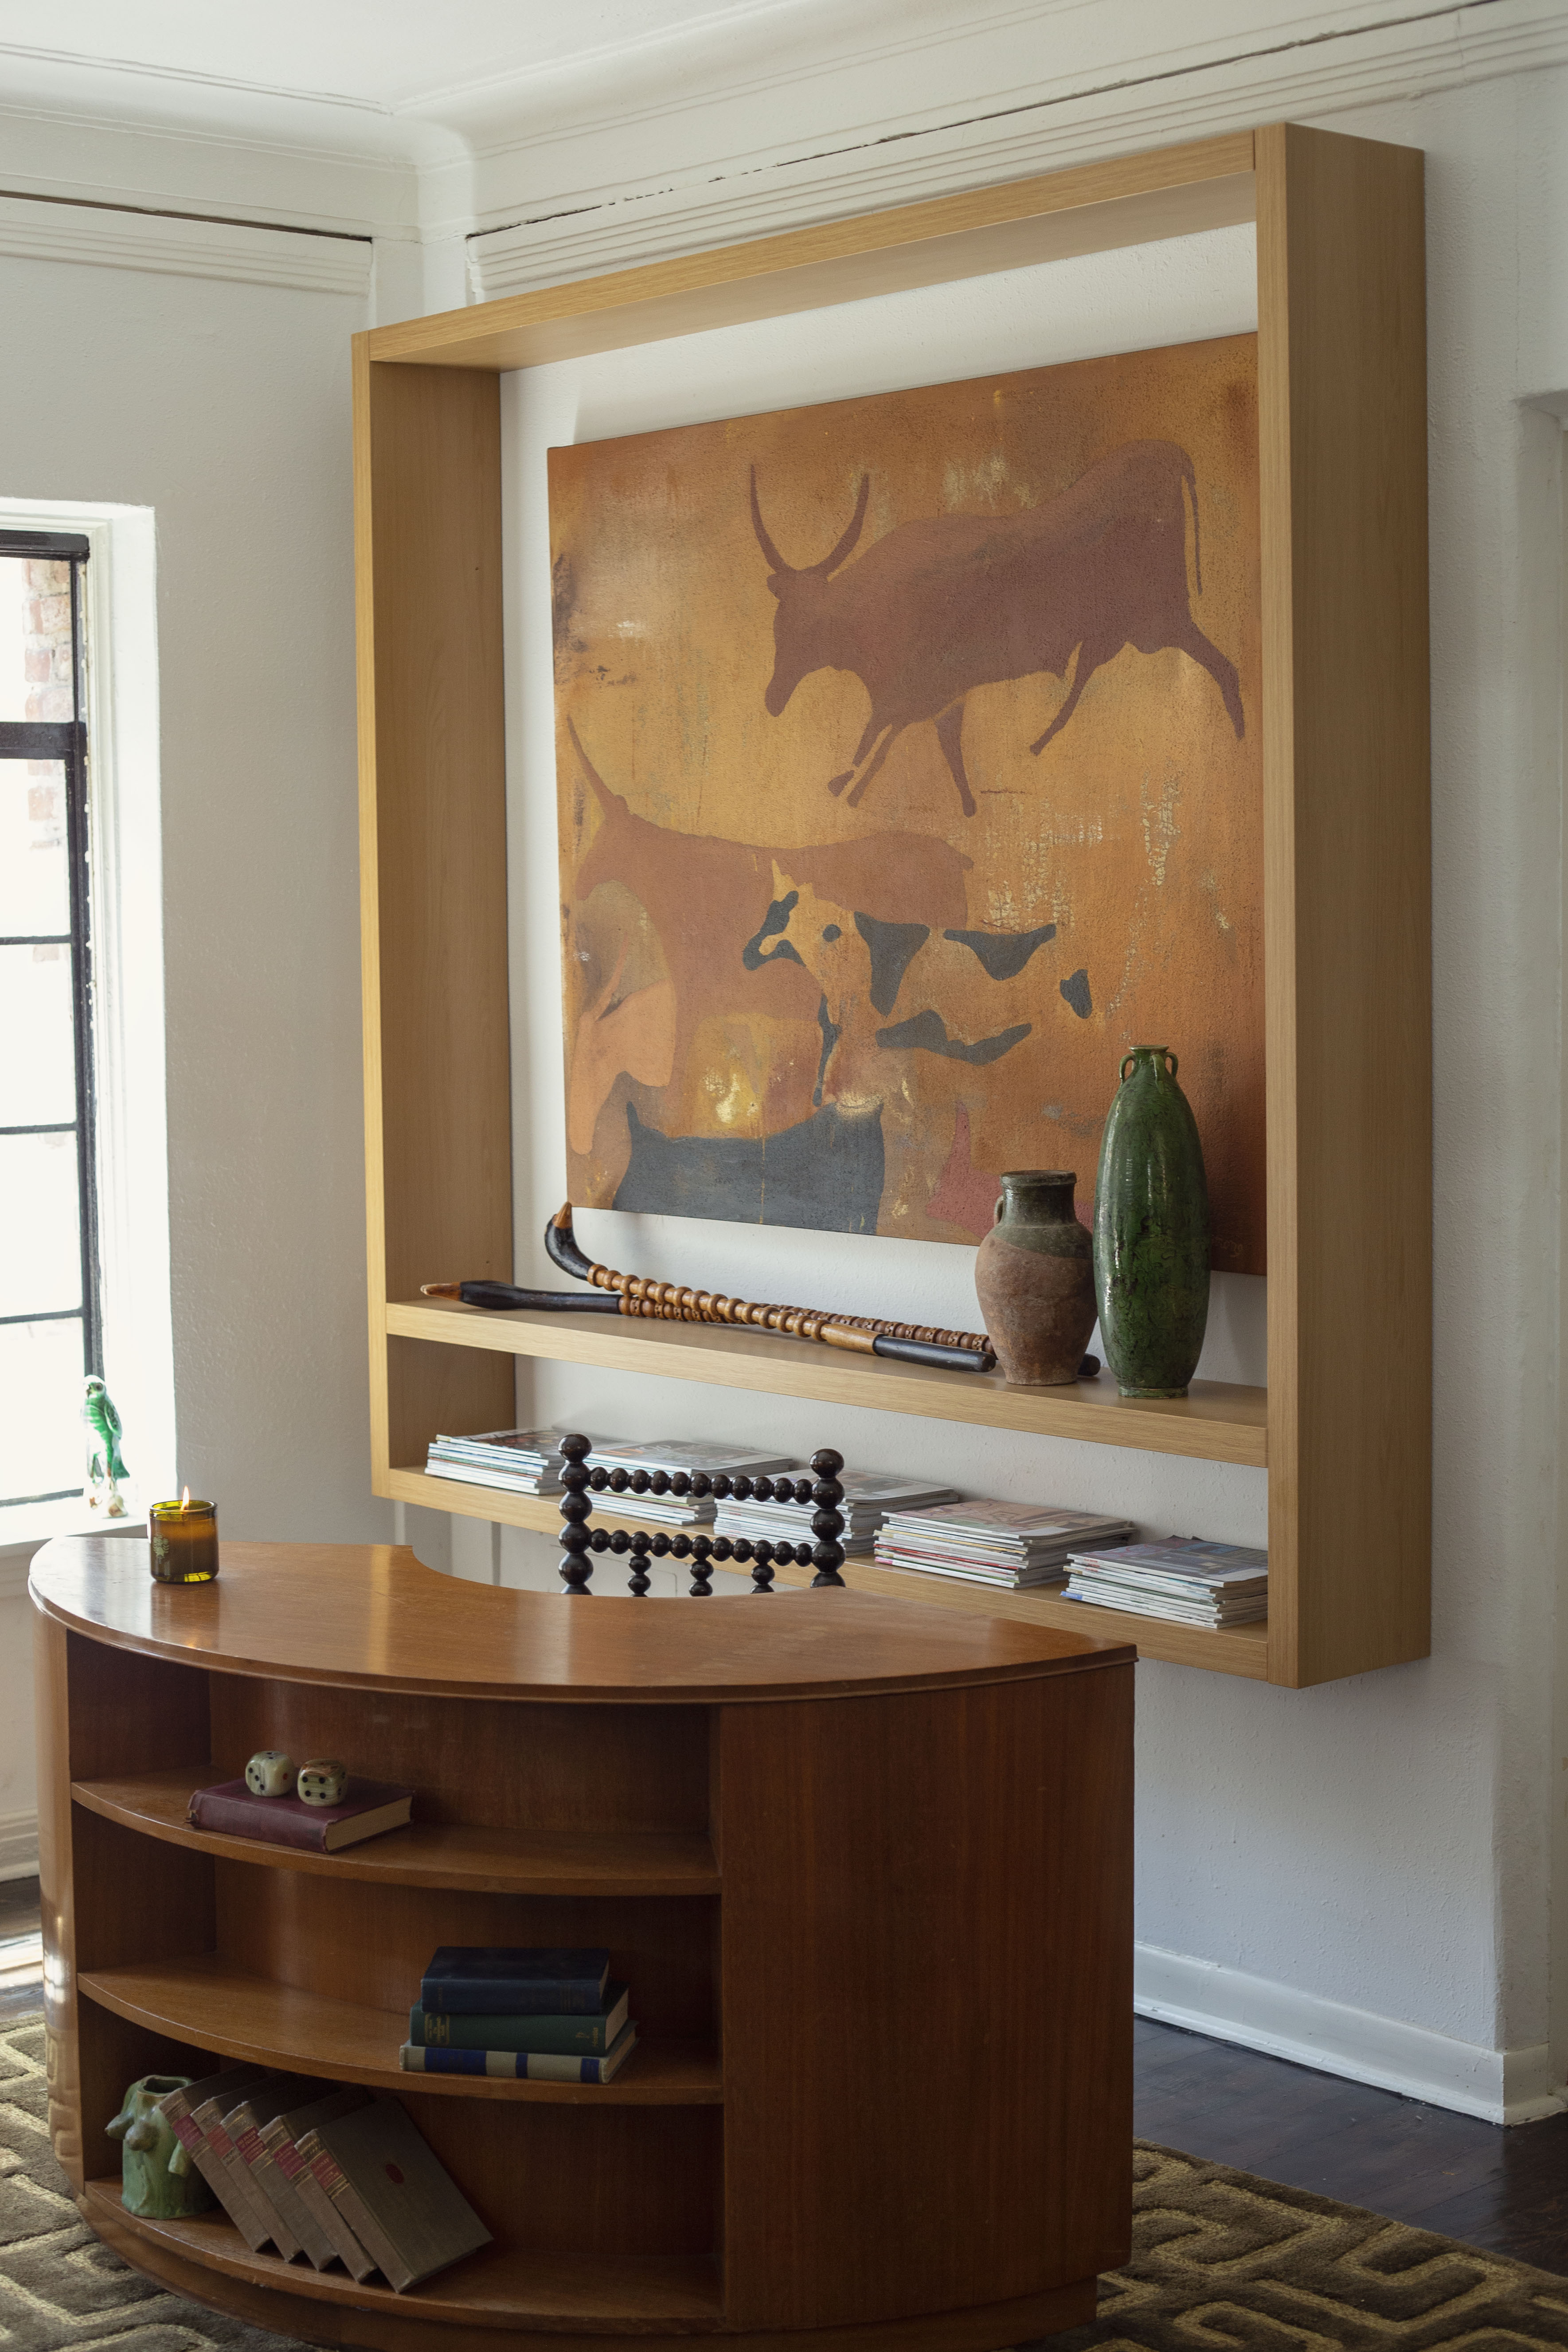
- Level: easy
- What do you do: you choose the length of the LACK, place the "frame" on the floor, transfer the dimensions to the wall, mount it evenly (level!), and display a picture or TV inside.
- Tip: start from the middle and then close the sides.
3) Trendy bobbin effect on bedside tables (HEMNES or similar)

- Level: easy
- What you do: sand the factory finish (if necessary), glue the hemispheres at even intervals, paint or stain the whole thing.
- Tip: draw the grid with a pencil so that the balls don't "escape".
4) Milling in the frame (e.g. KALLAX as an elegant sideboard)
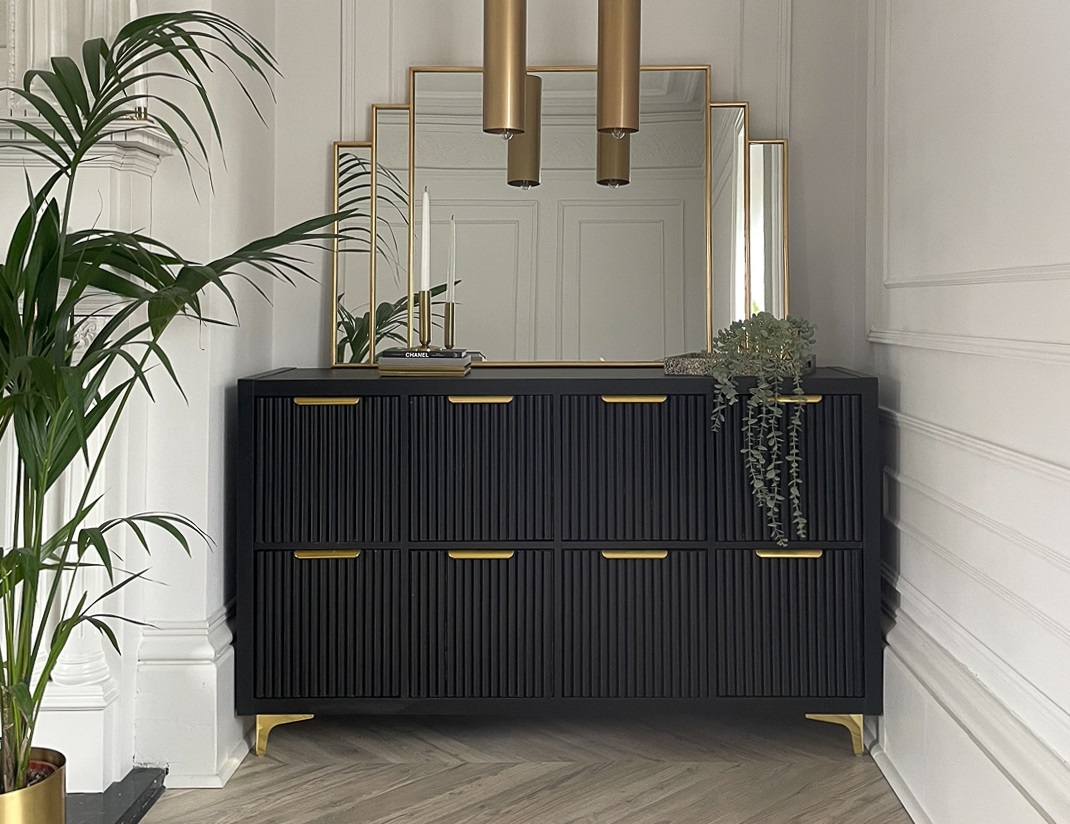
- Level: medium
- What do you do: you glue strips/half-rounds to the fronts at even intervals, make a frame, paint the whole thing and add decent handles.
- Tip: set equal spacing with a spacer (e.g. a piece of strip as a "measurement").
5) Milling as an overlay for fronts (IVAR in the "wow" version)
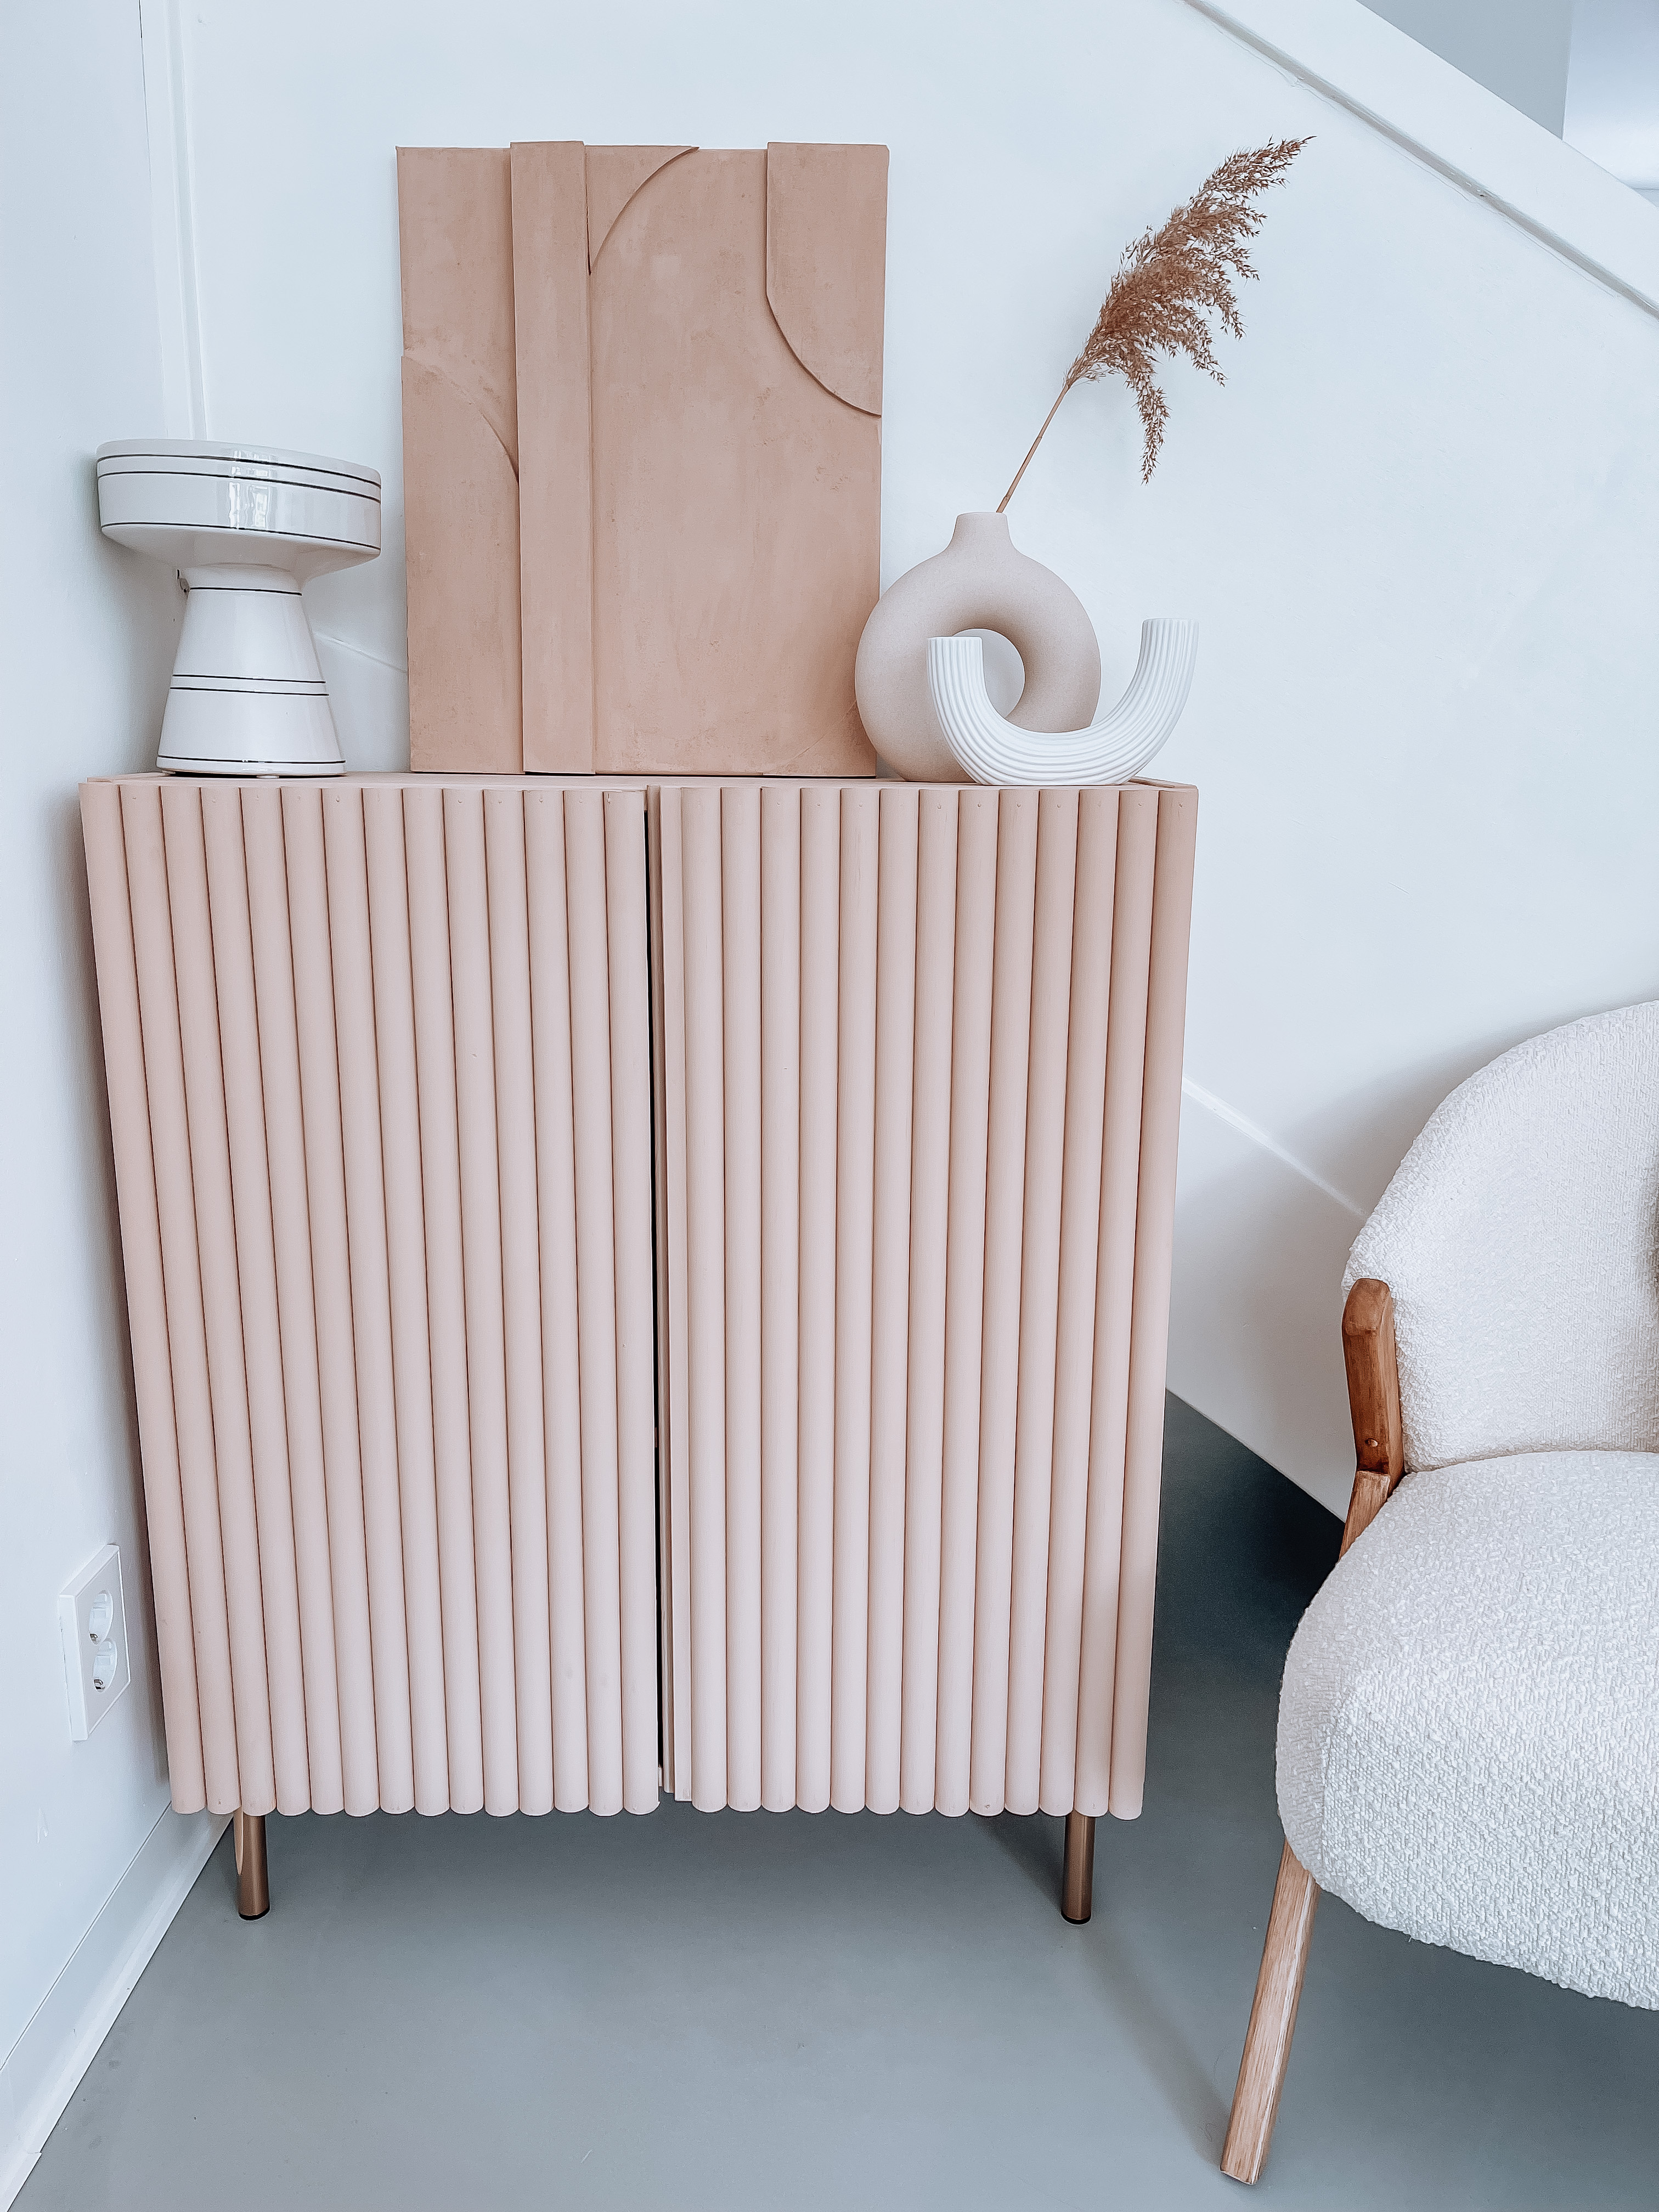
- Level: medium
- What do you do: glue the strips to the fronts (horizontally or vertically), paint them one color, add legs.
- Tip: Before gluing, dry-fit the strips and check the symmetry.
6) Milling + painted geometric pattern
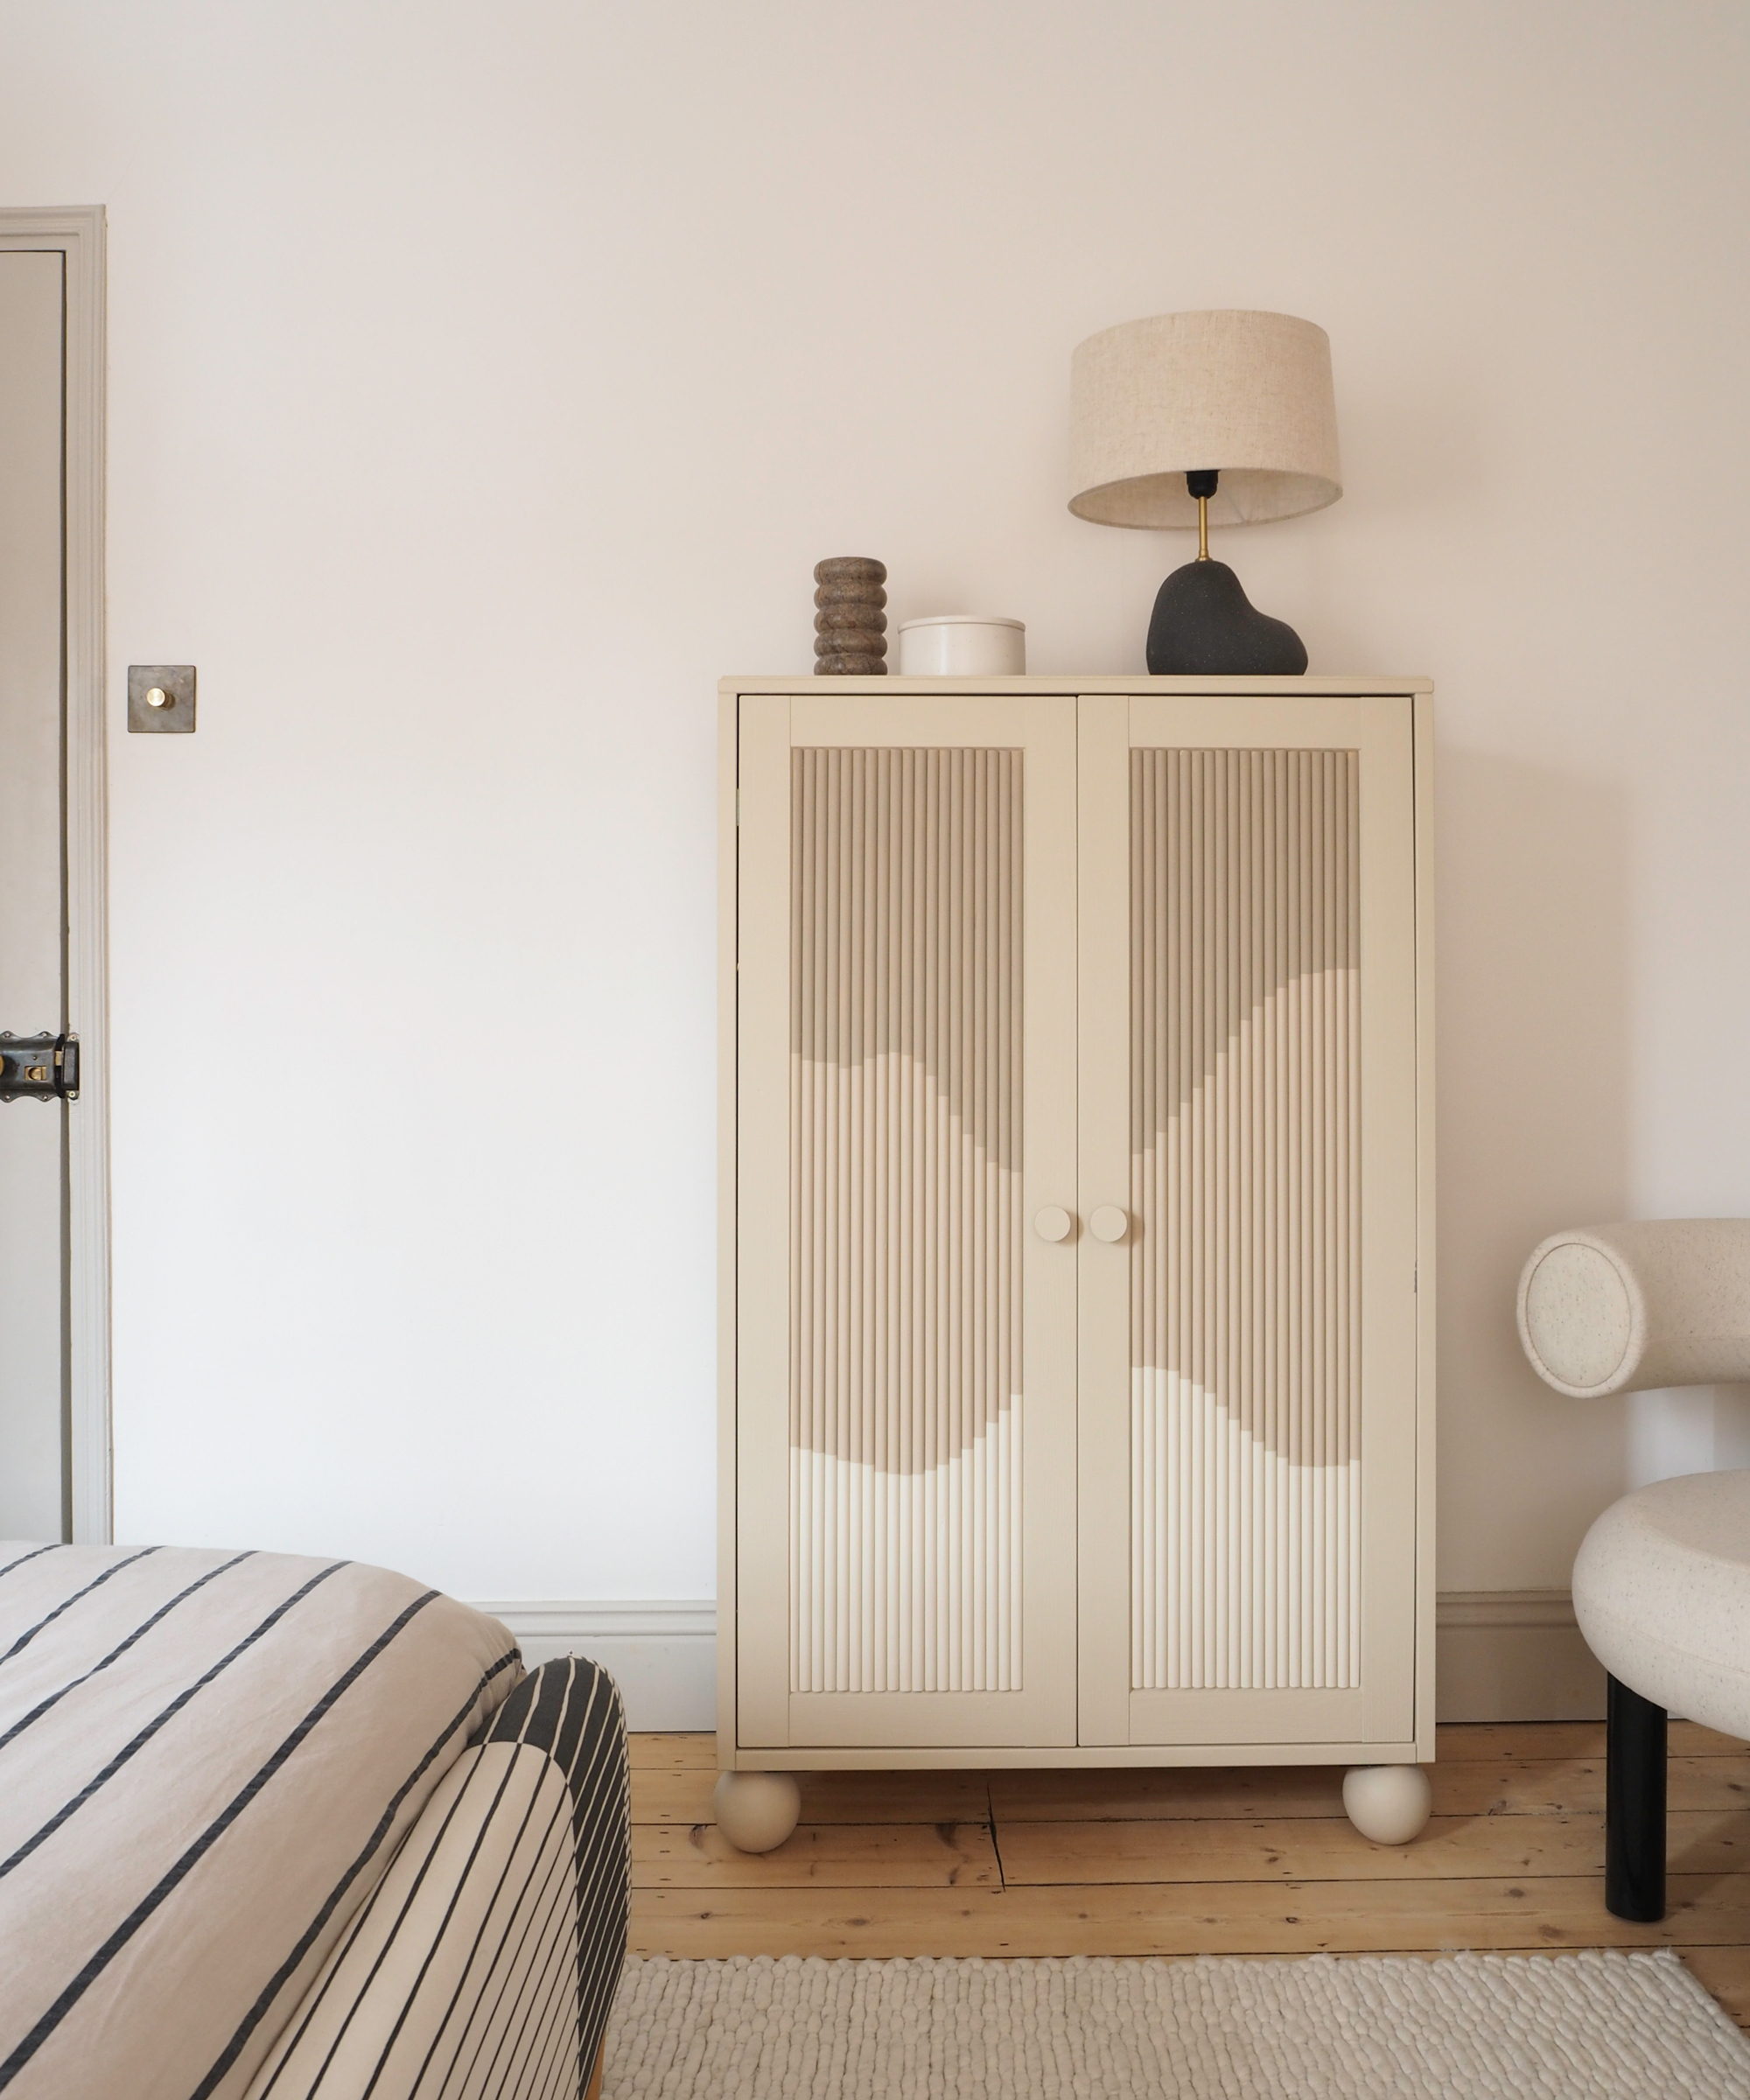
- Level: medium/difficult
- What do you do: you make milling cuts, draw out the pattern, cover with masking tape, paint in sections, protect with matte varnish.
- Tip: remove the tape while the paint is still slightly "fresh".
7) Fluted background in the shelf structure
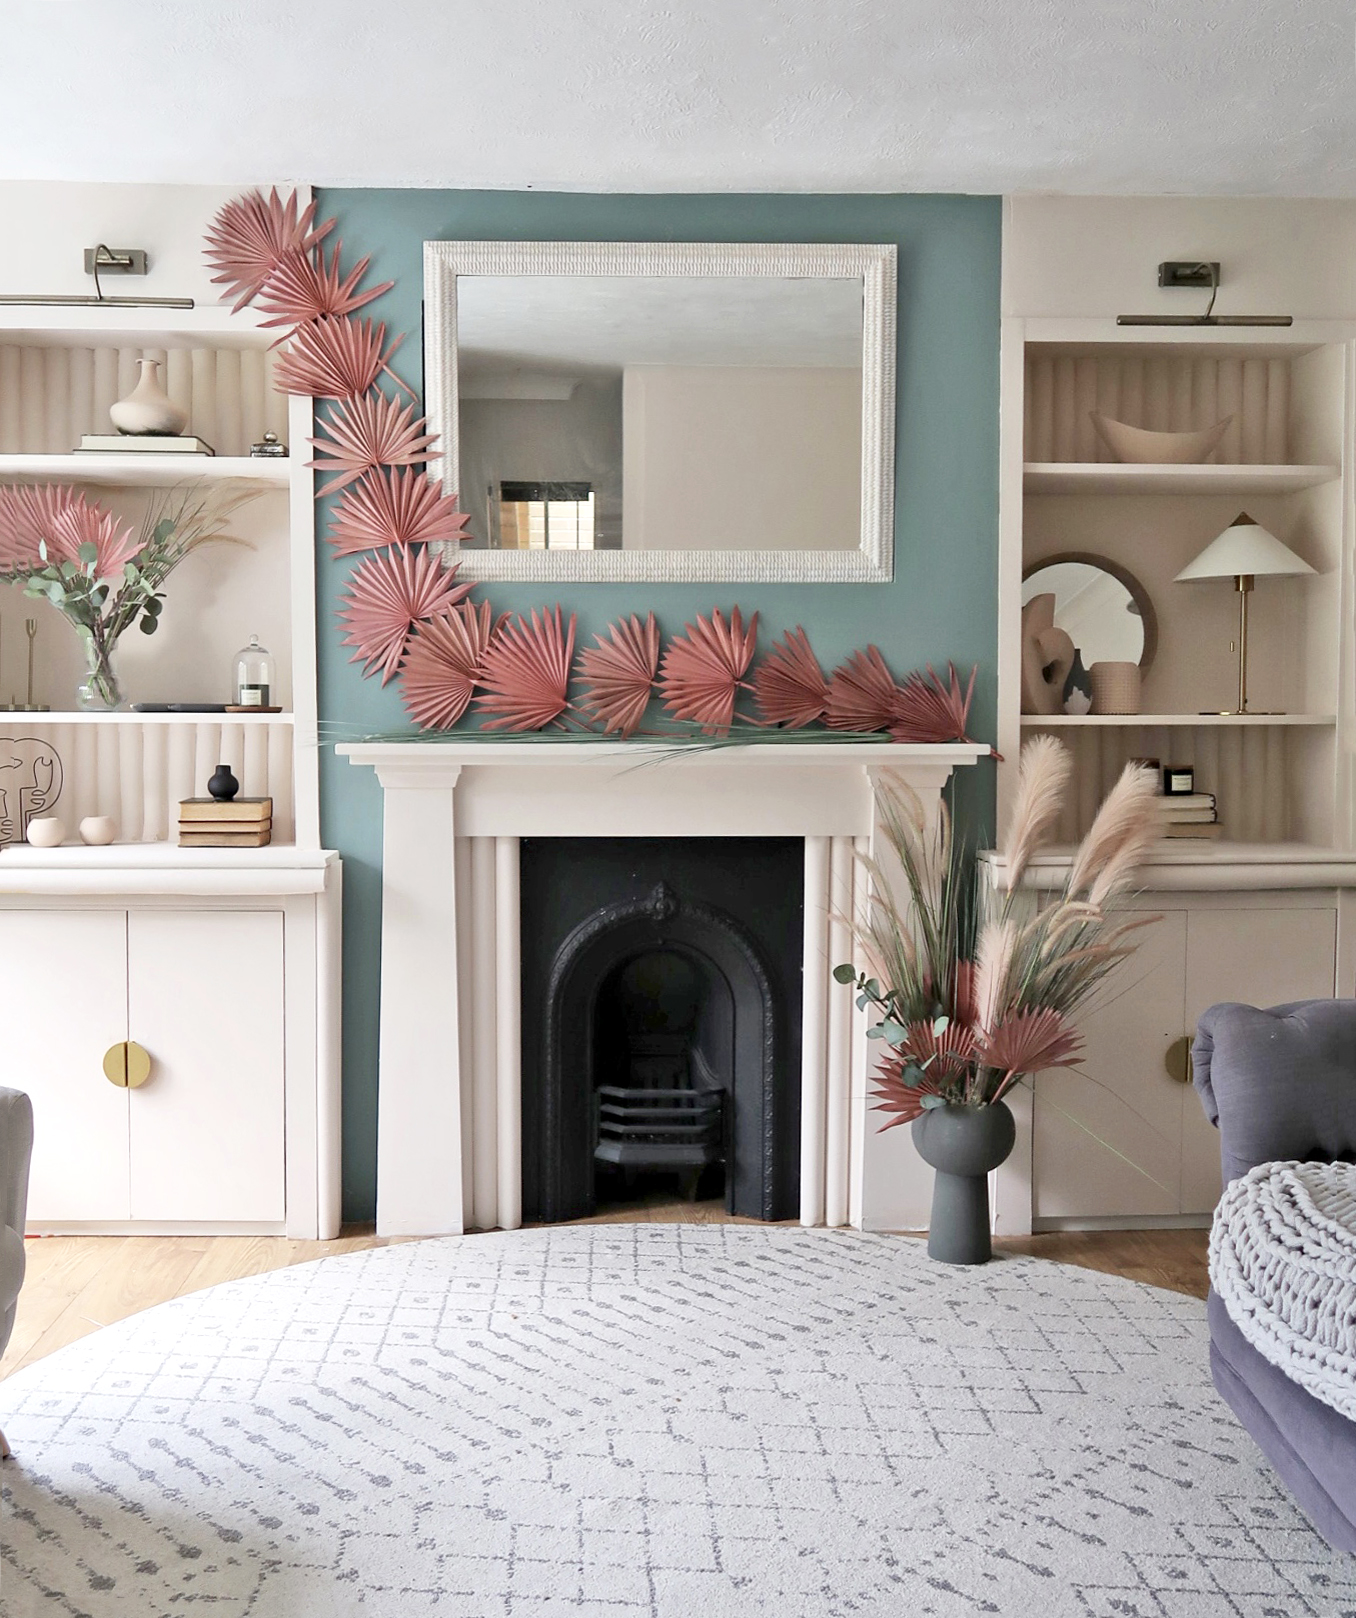
- Level: difficult
- What do you do: you arrange the modules, make the covers and diffusers, add the panels to the back (with strips), paint the whole thing one color, install the light.
- Tip: if you don't do this often, first make a test with cardboard/blends.
8) BJÖRKÖVIKEN doors as a base for an "expensive-looking" TV stand
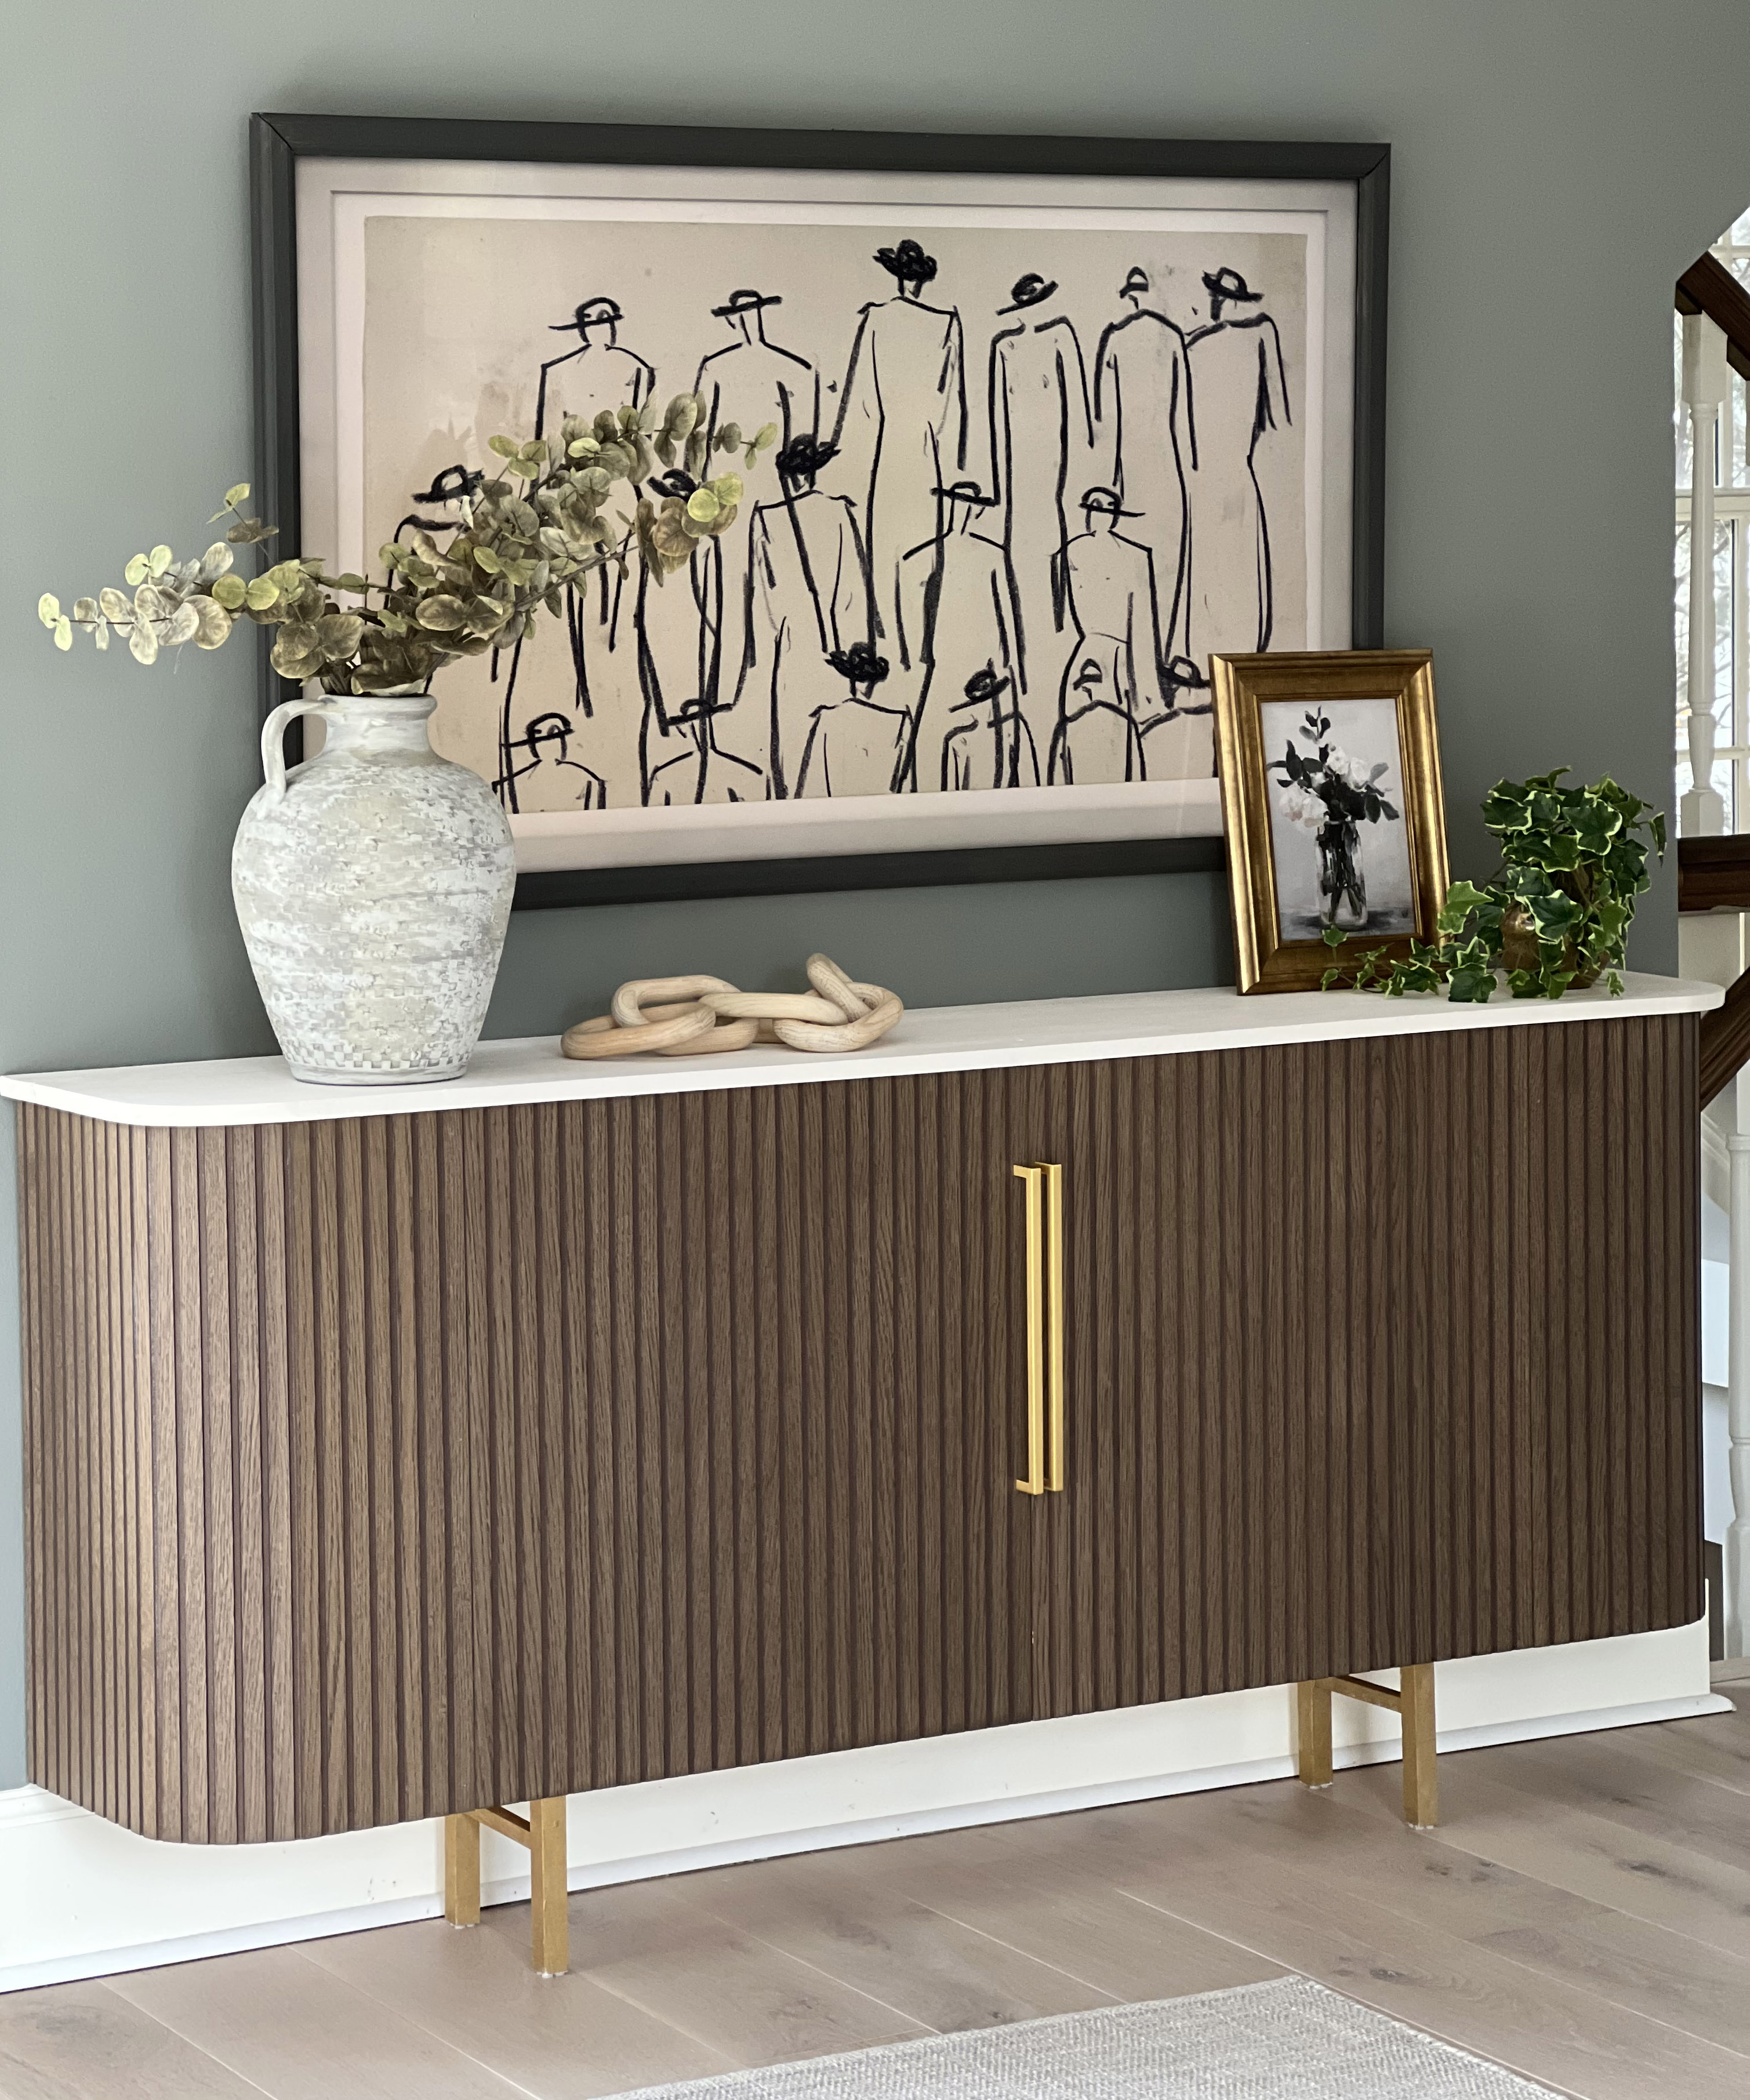
- Level: difficult
- What you do: build the body, fit the doors, optionally make arches/curves, paint and install the hardware.
- Tip: anchor heavy furniture to the wall, seriously.
9) Decorative overlays for fronts
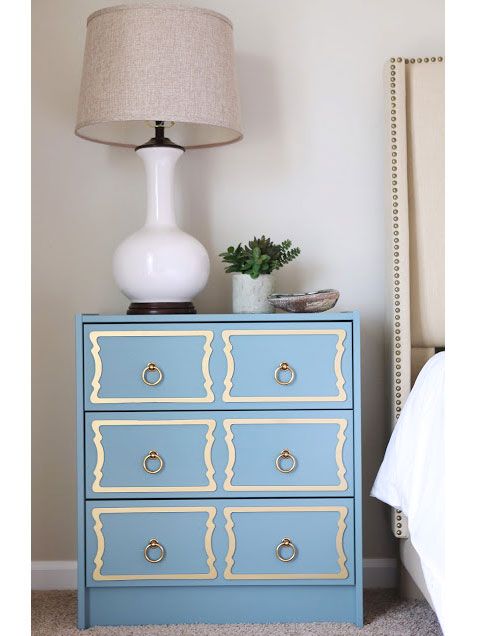
- Level: easy
- What do you do: buy matching overlays, glue them onto the fronts, paint the whole thing, replace the handles.
- Tip: paint the overlays together with the front, then they will look factory-like (the better one).
10) Modern "block" pattern on IVAR doors
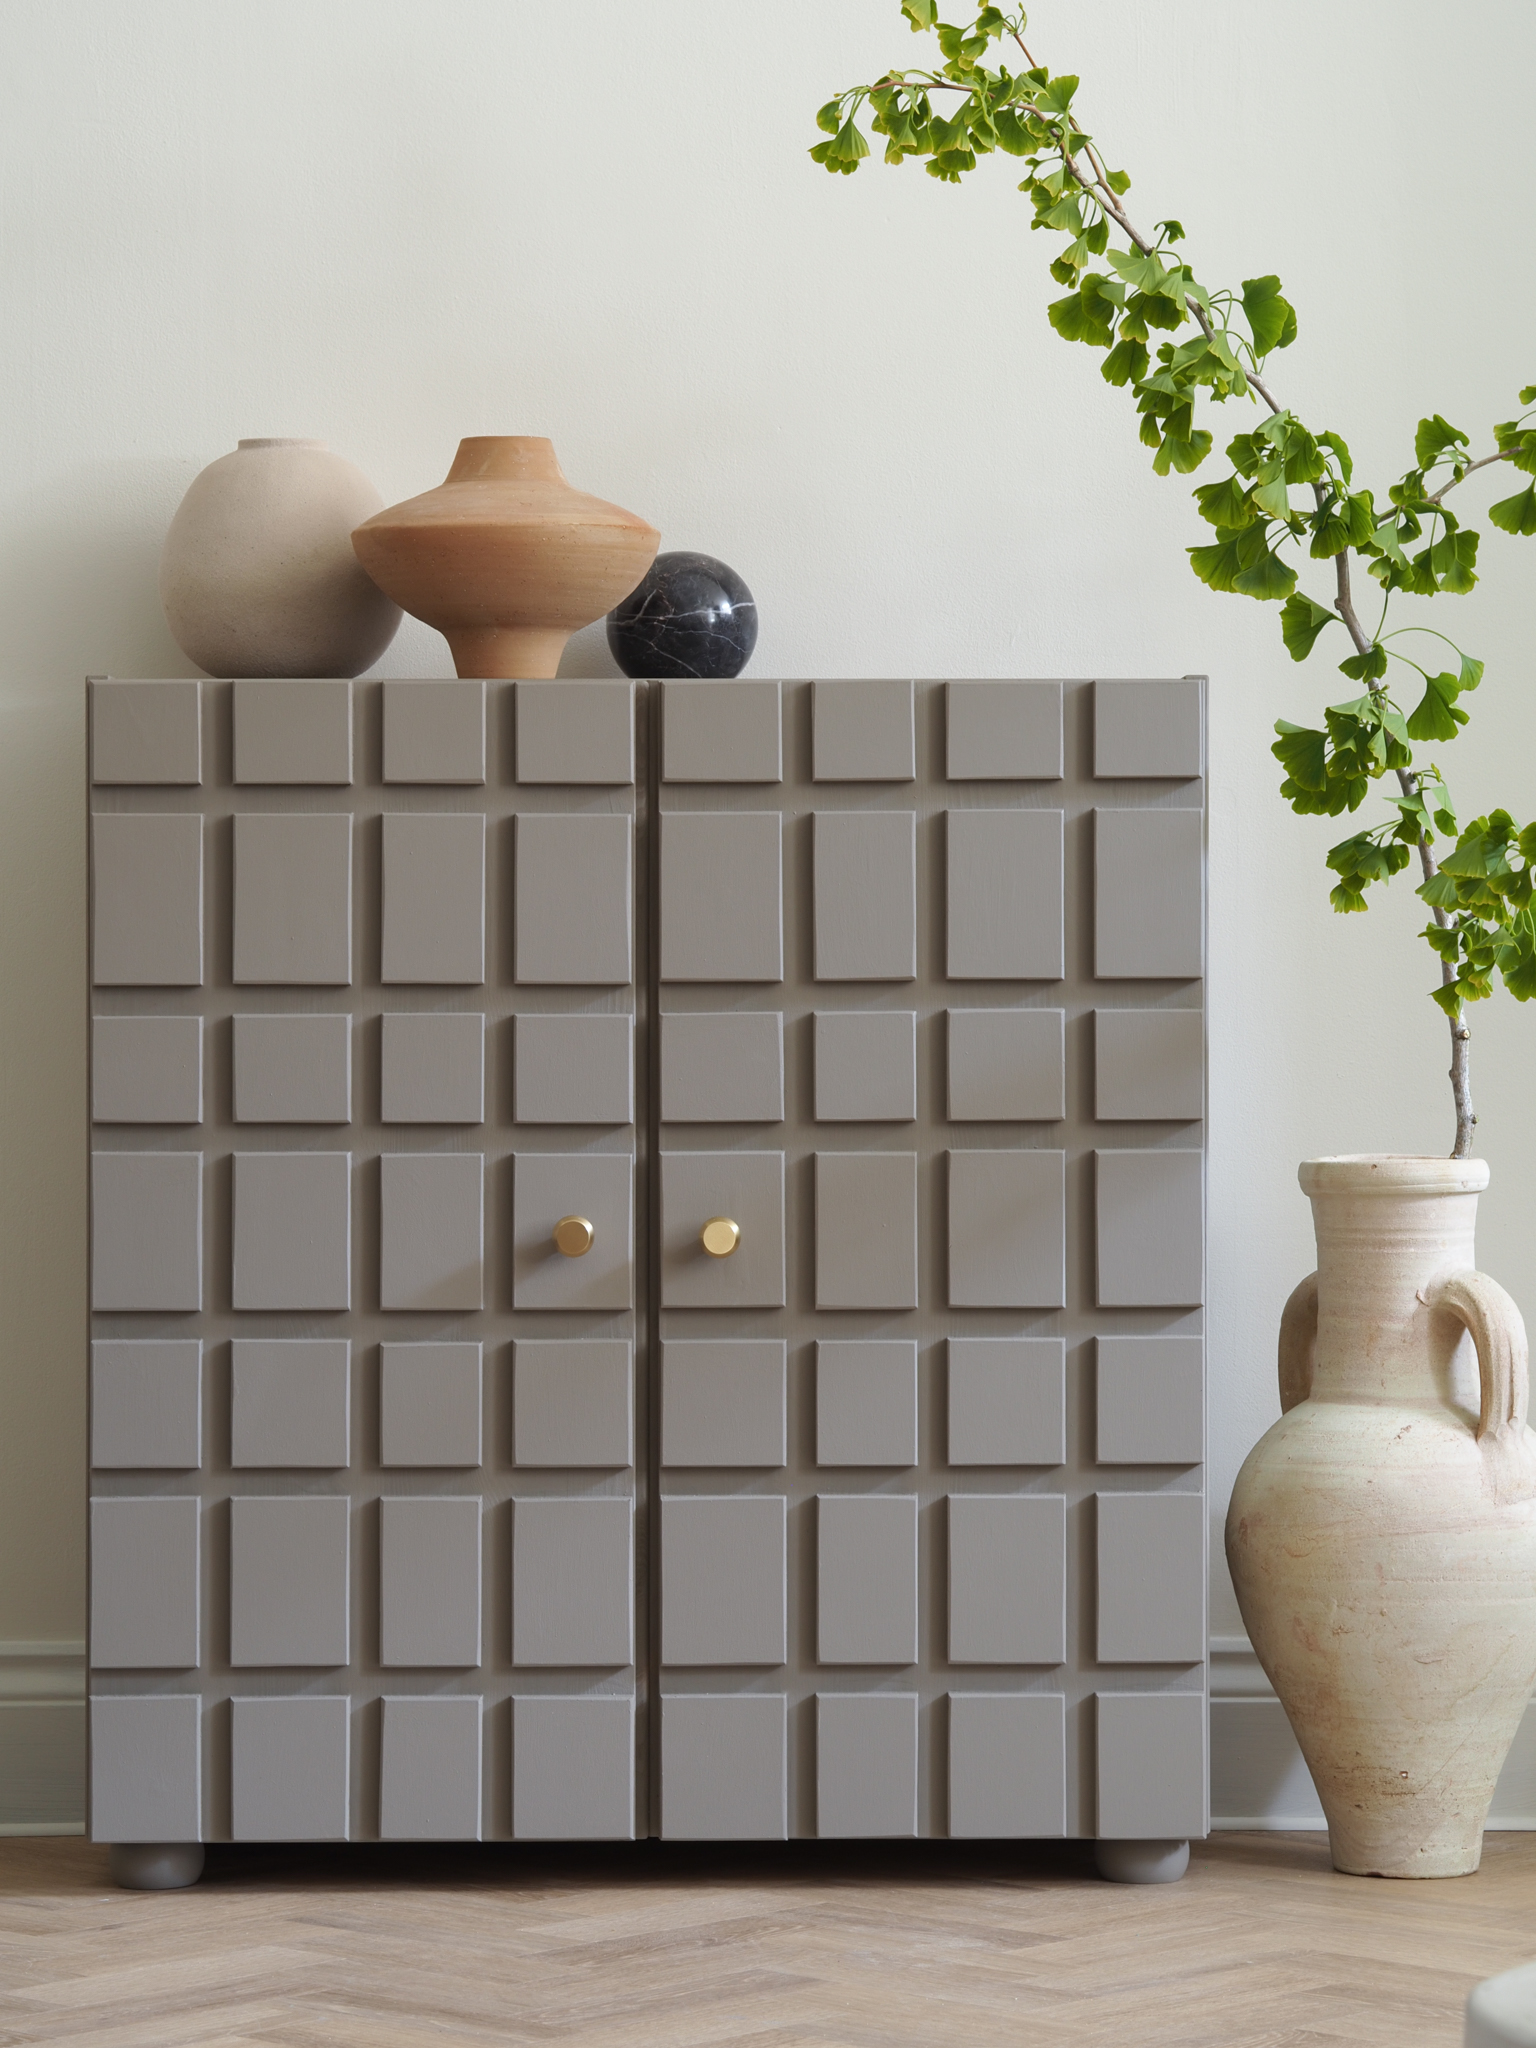
- Level: medium
- What do you do: you cut small rectangles from the board, arrange the composition, glue, sand the edges, paint.
- Tip: number the elements with a marker on the back, otherwise you will lose the order.
11) Rattan doors on IVAR
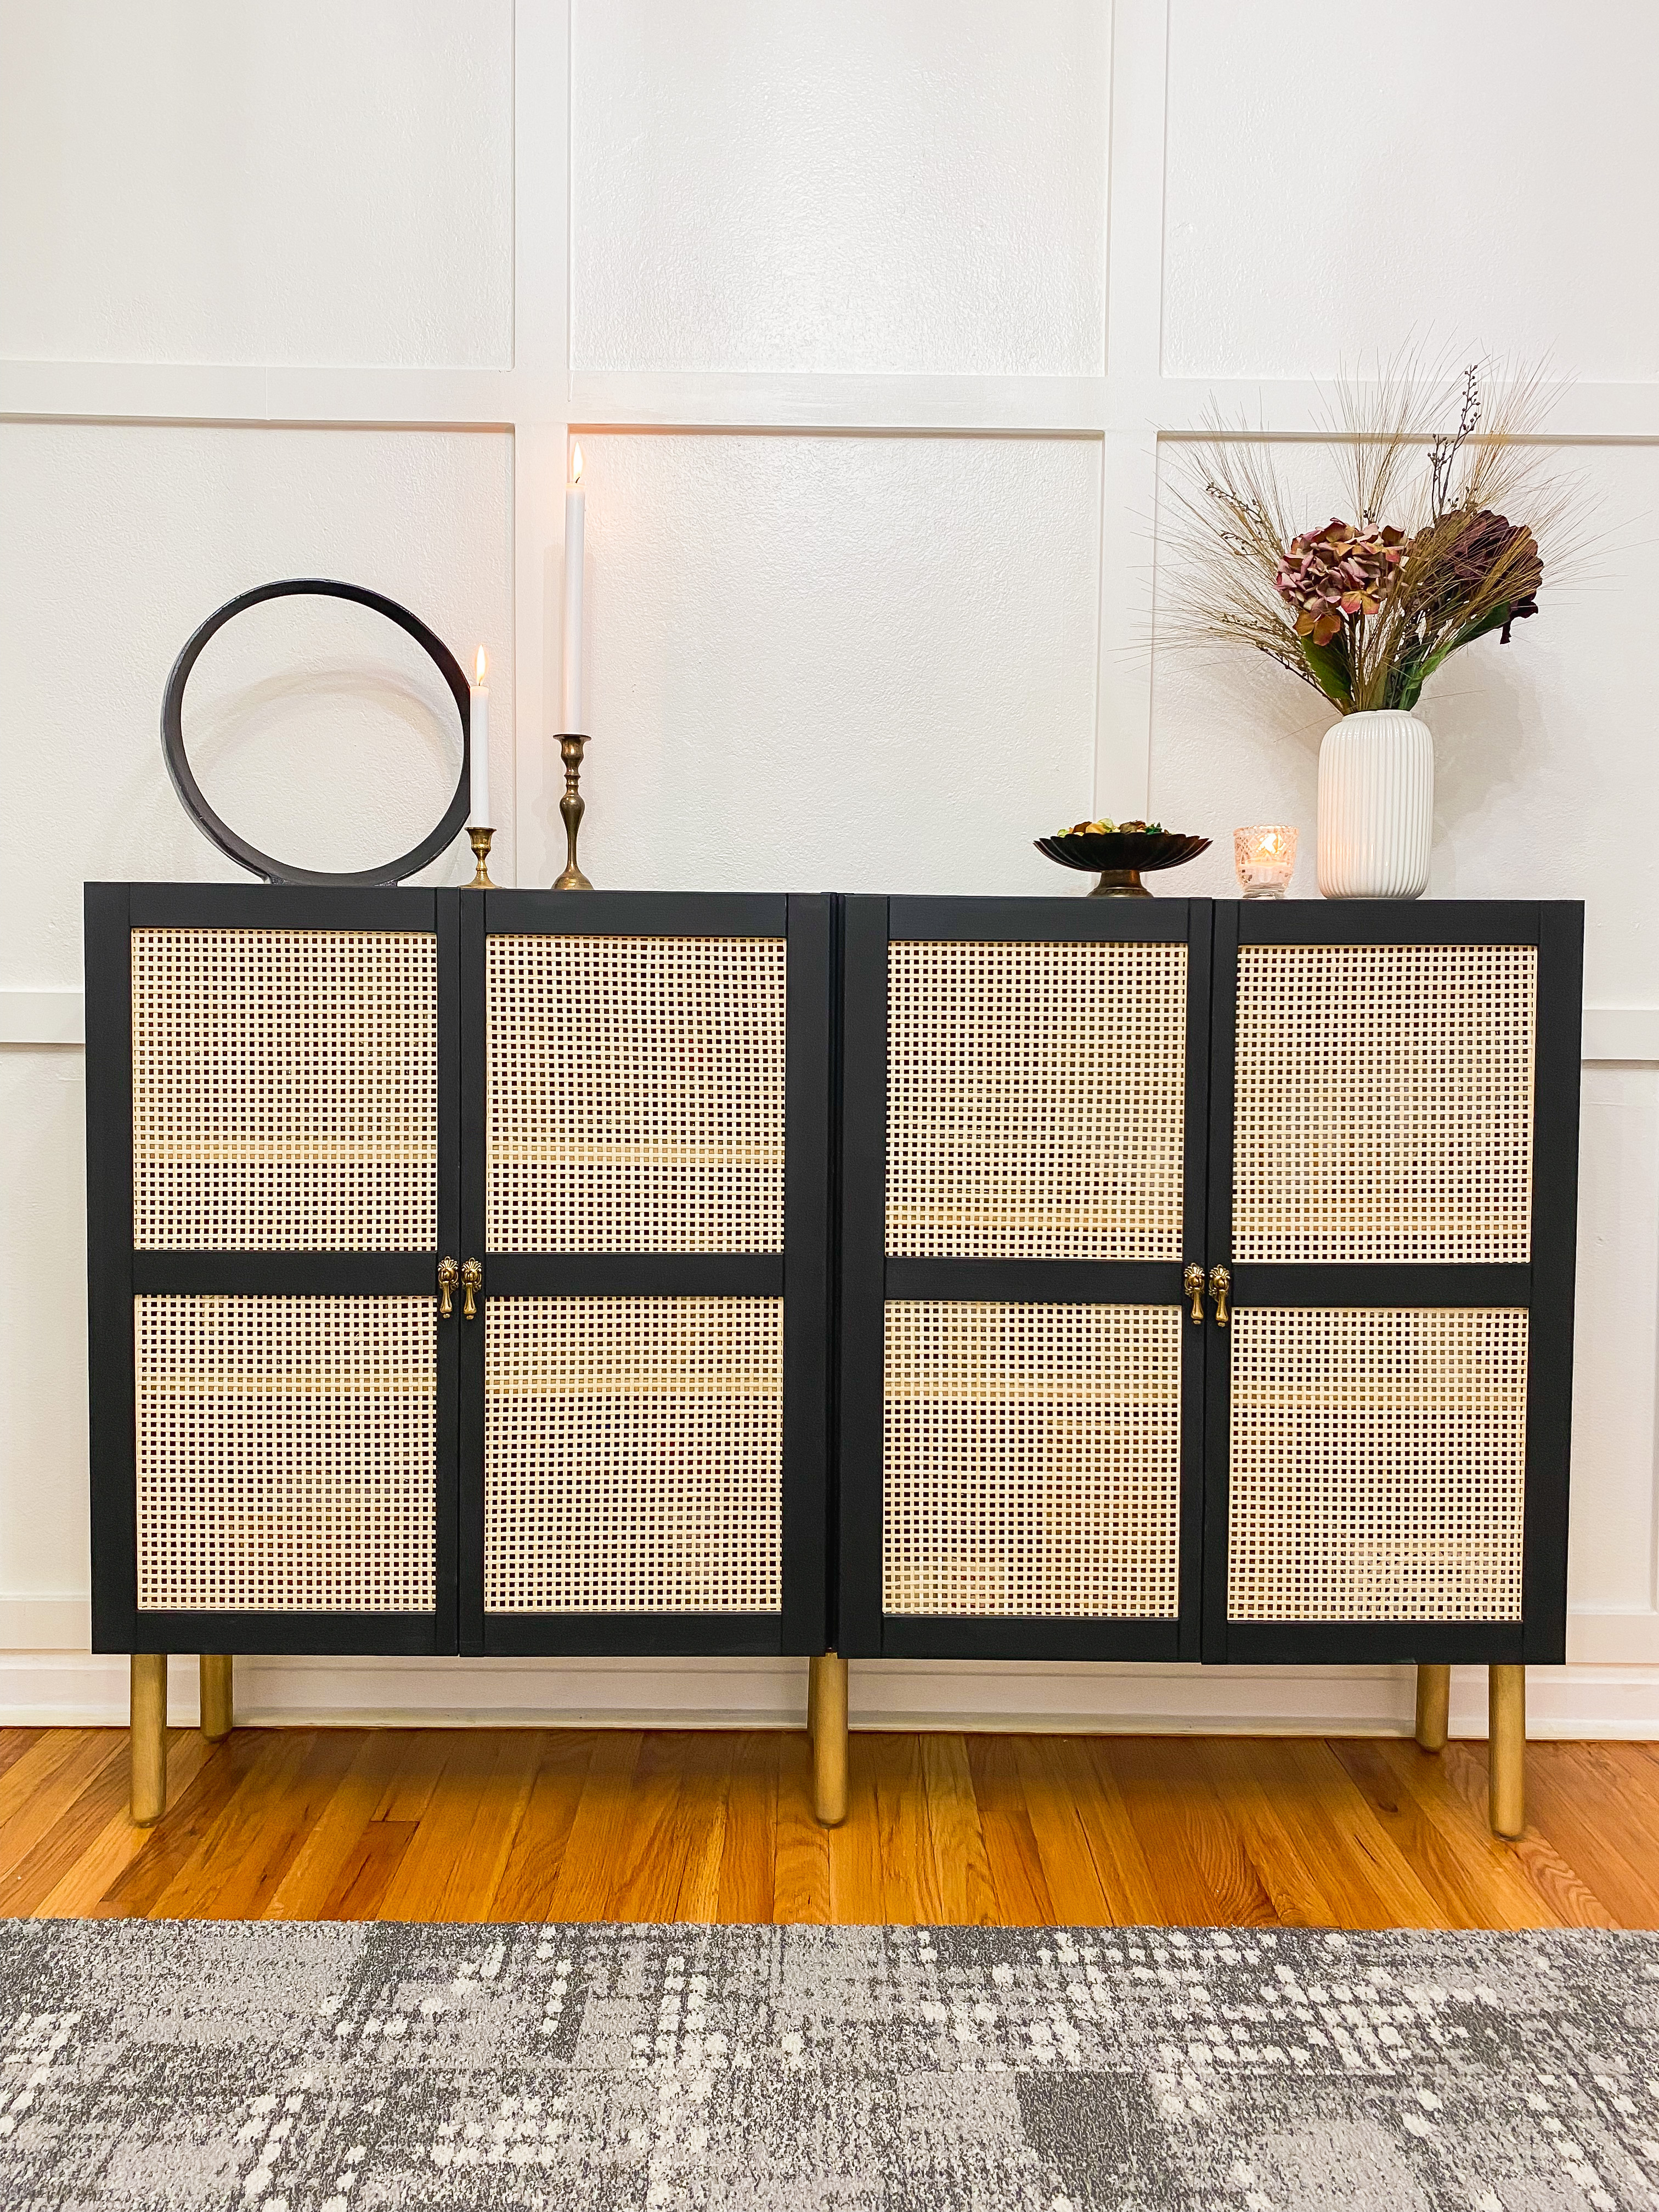
- Level: easy
- What you do: assemble/cut the finished door or rattan insert, paint the body, add legs and handles.
- Tip: If your edges are cut, finish them with a strip or veneer.
12) Rattan from the inside: BESTA with cutouts and braid
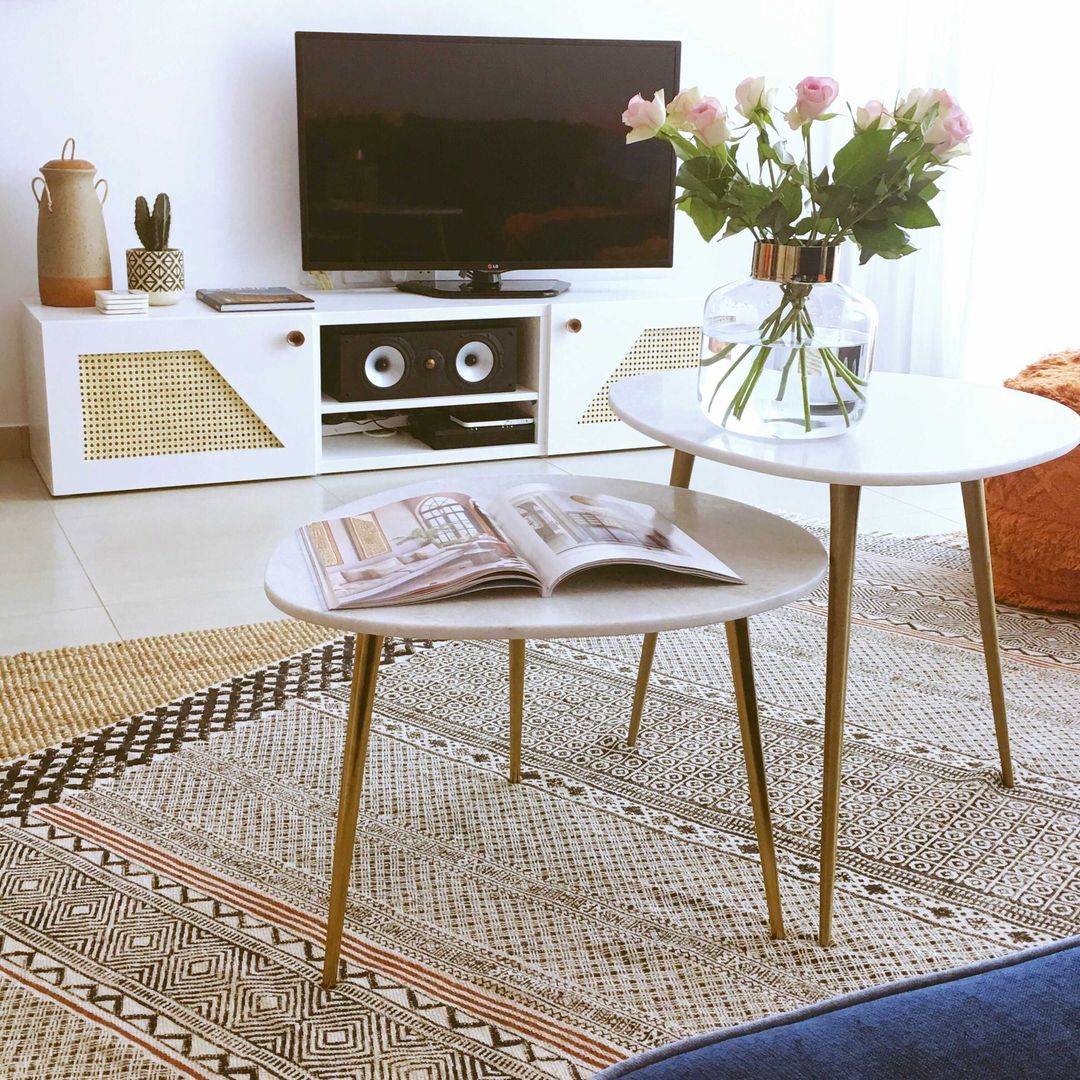
- Level: medium
- What do you do: cut out the pattern in the door (jigsaw), secure the edges, glue the rattan on the back, install the knobs.
- Tip: When cutting, cover the line with tape, it will fray less.
13) MOPPE as a "medicine" chest of drawers
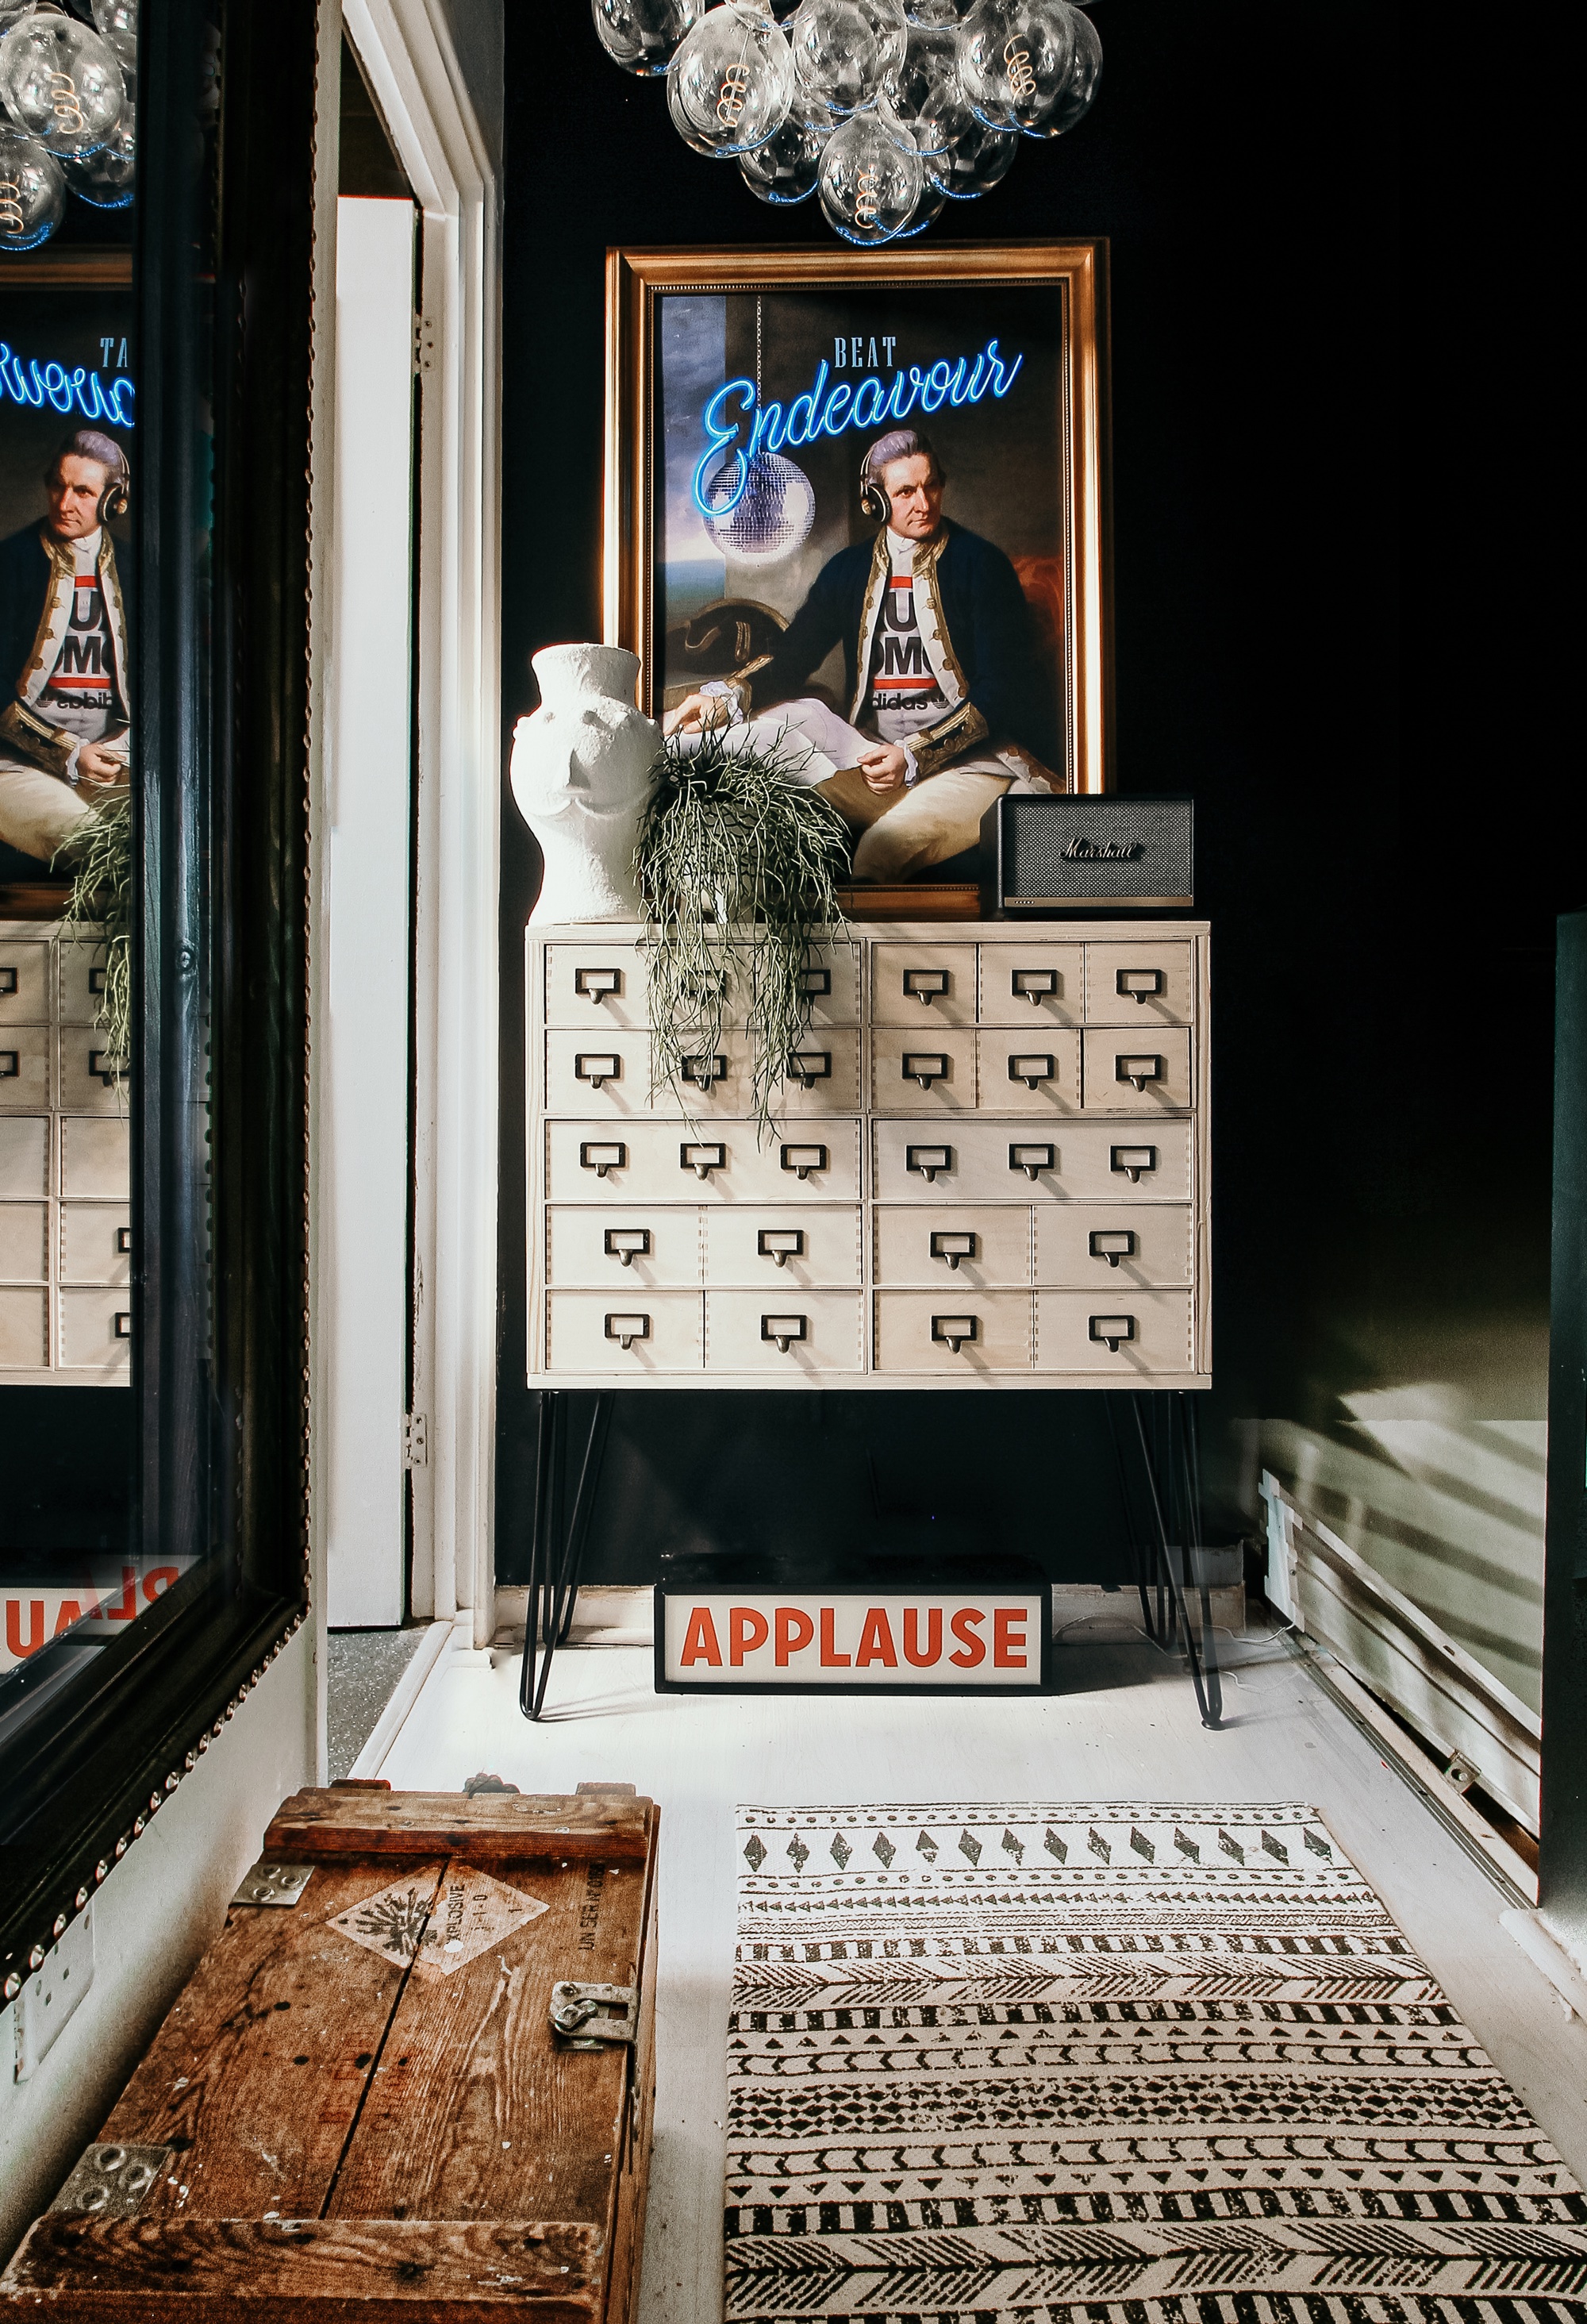
- Level: easy/medium
- What do you do: combine several MOPPEs into one block, add handles/labels, paint or stain.
- Tip: keep identical handles in one series, otherwise you will get a "patchwork".
14) Desk made from a simple INGO table
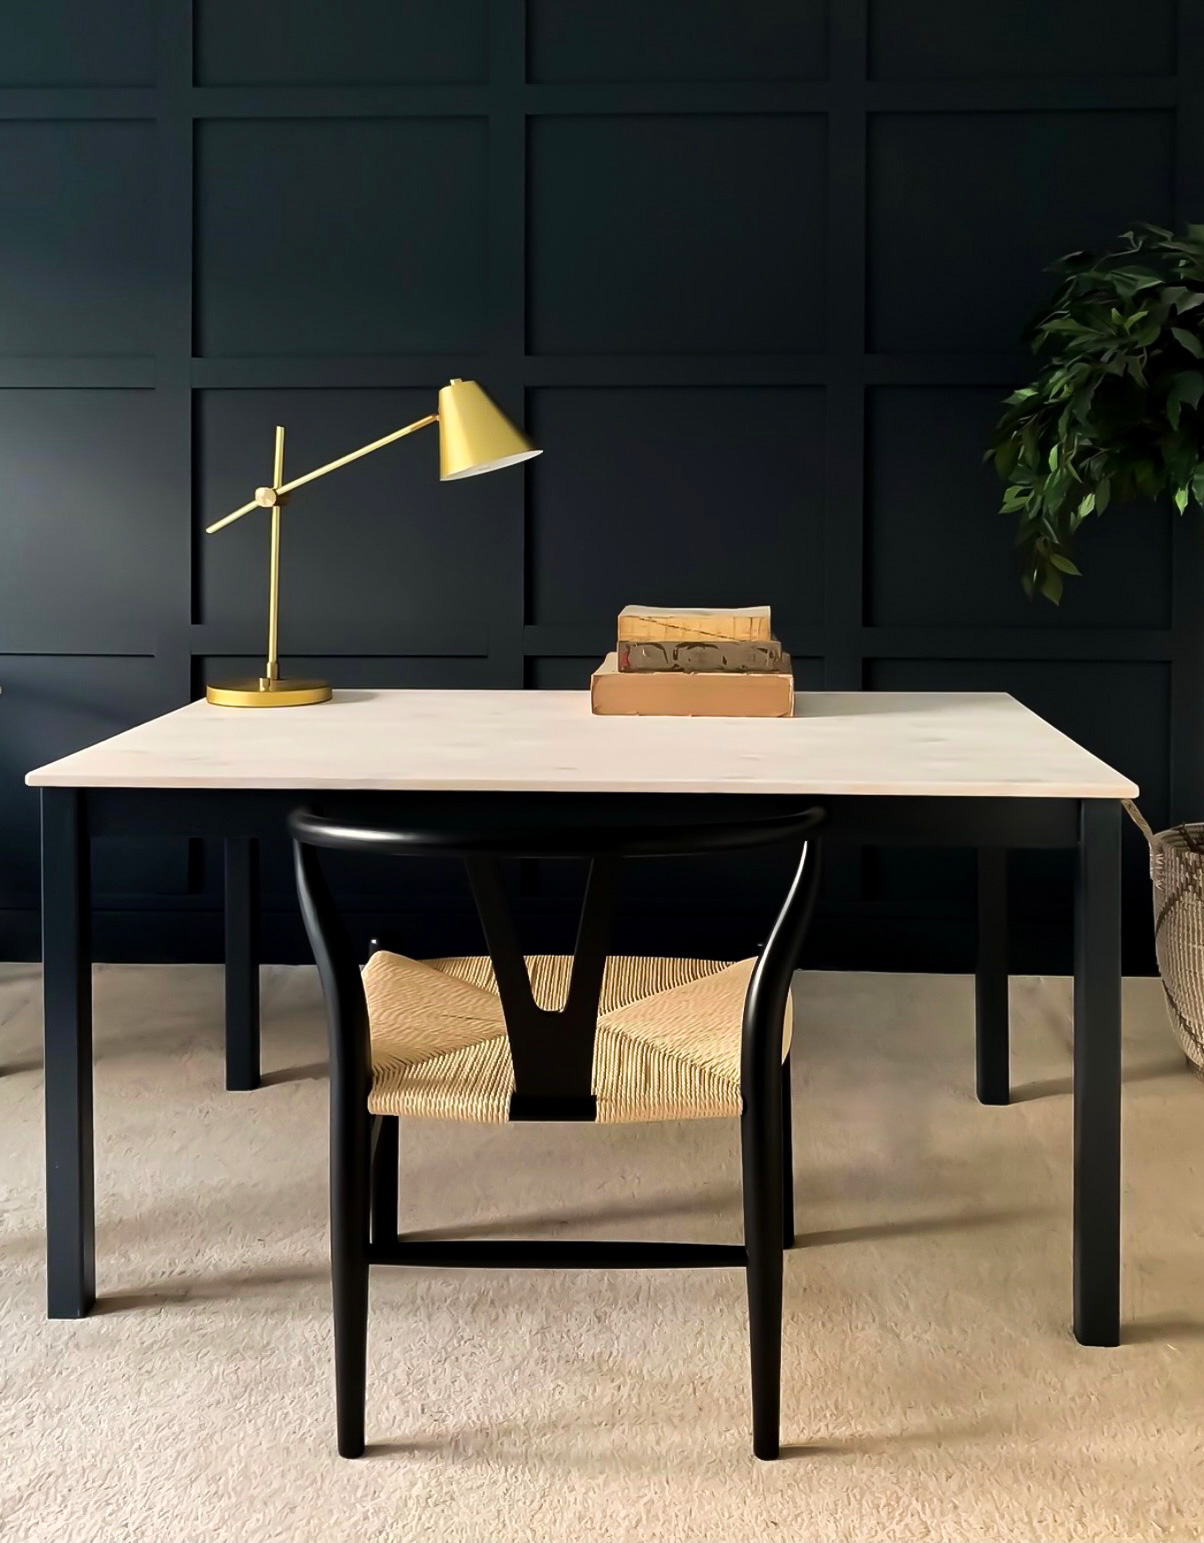
- Level: easy
- What do you do: sand, prime (if necessary), paint the legs and base, oil or wax the top.
- Tip: A matte finish usually looks more expensive than a semi-gloss from the supermarket.
15) ALEX Home Office with Drawers
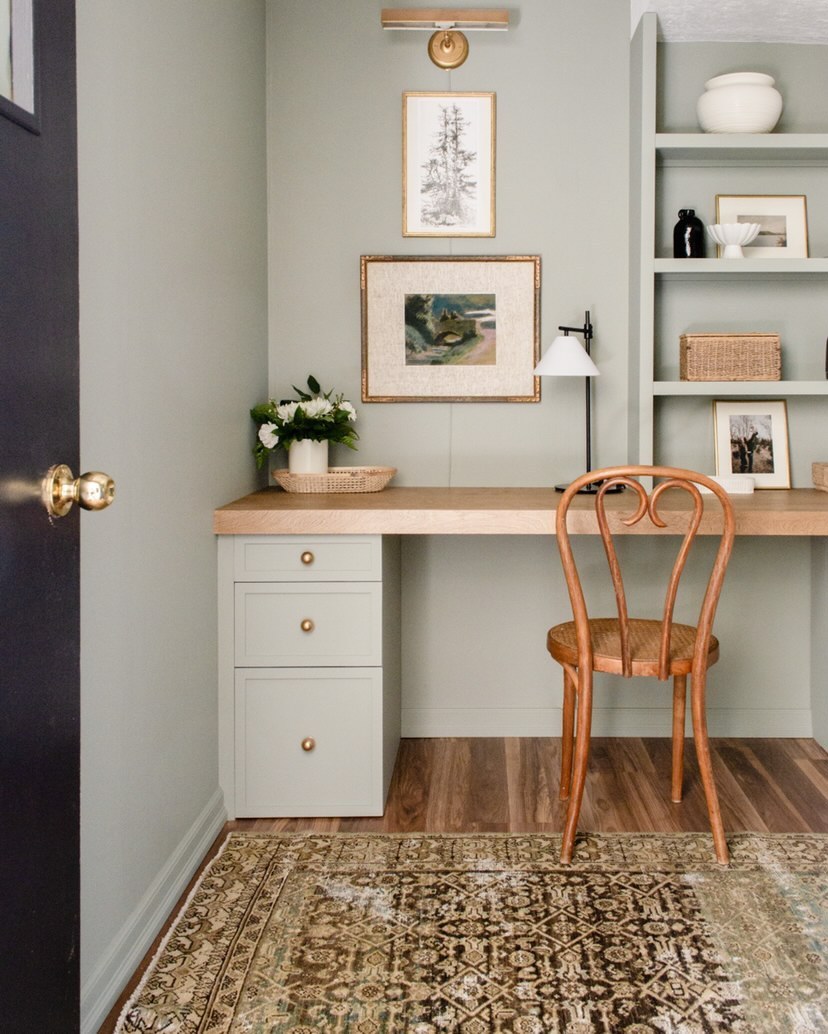
- Level: medium
- What do you do: change the fronts (e.g. hardboard + shaker strips), paint the whole thing, make a proper countertop (plywood or ready-made), add new handles.
- Tip: leave some slack for your legs and chair. People forget this and then say, "The desk is nice, but you can't sit on it."
16) ALEX in 70s style: rattan + slats
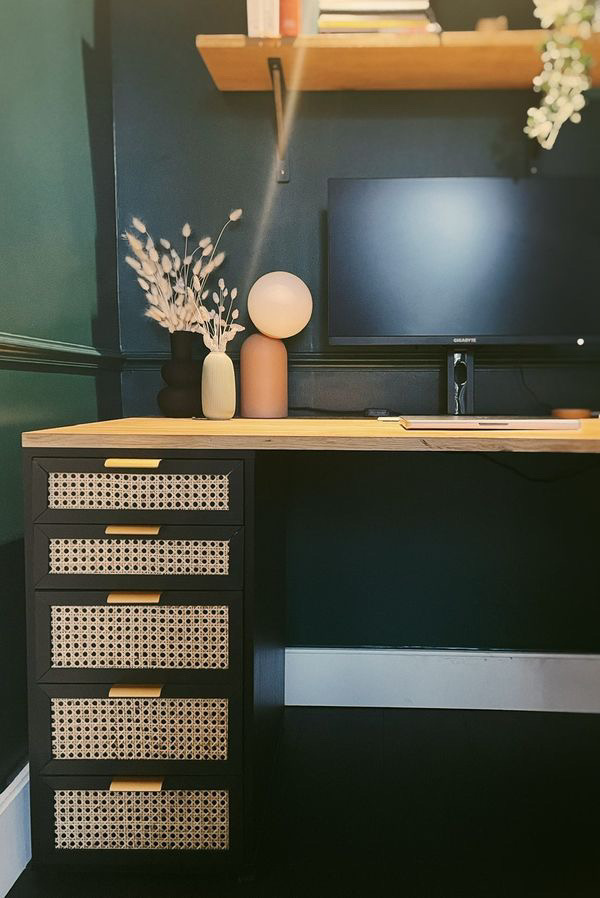
- Level: medium
- What do you do: remove the fronts, make frames from slats, attach rattan, paint, install handles.
- Tip: It is best to stretch and staple rattan from the back.
17) A table made from a BLANDA bowl (yes, the one for fruit)
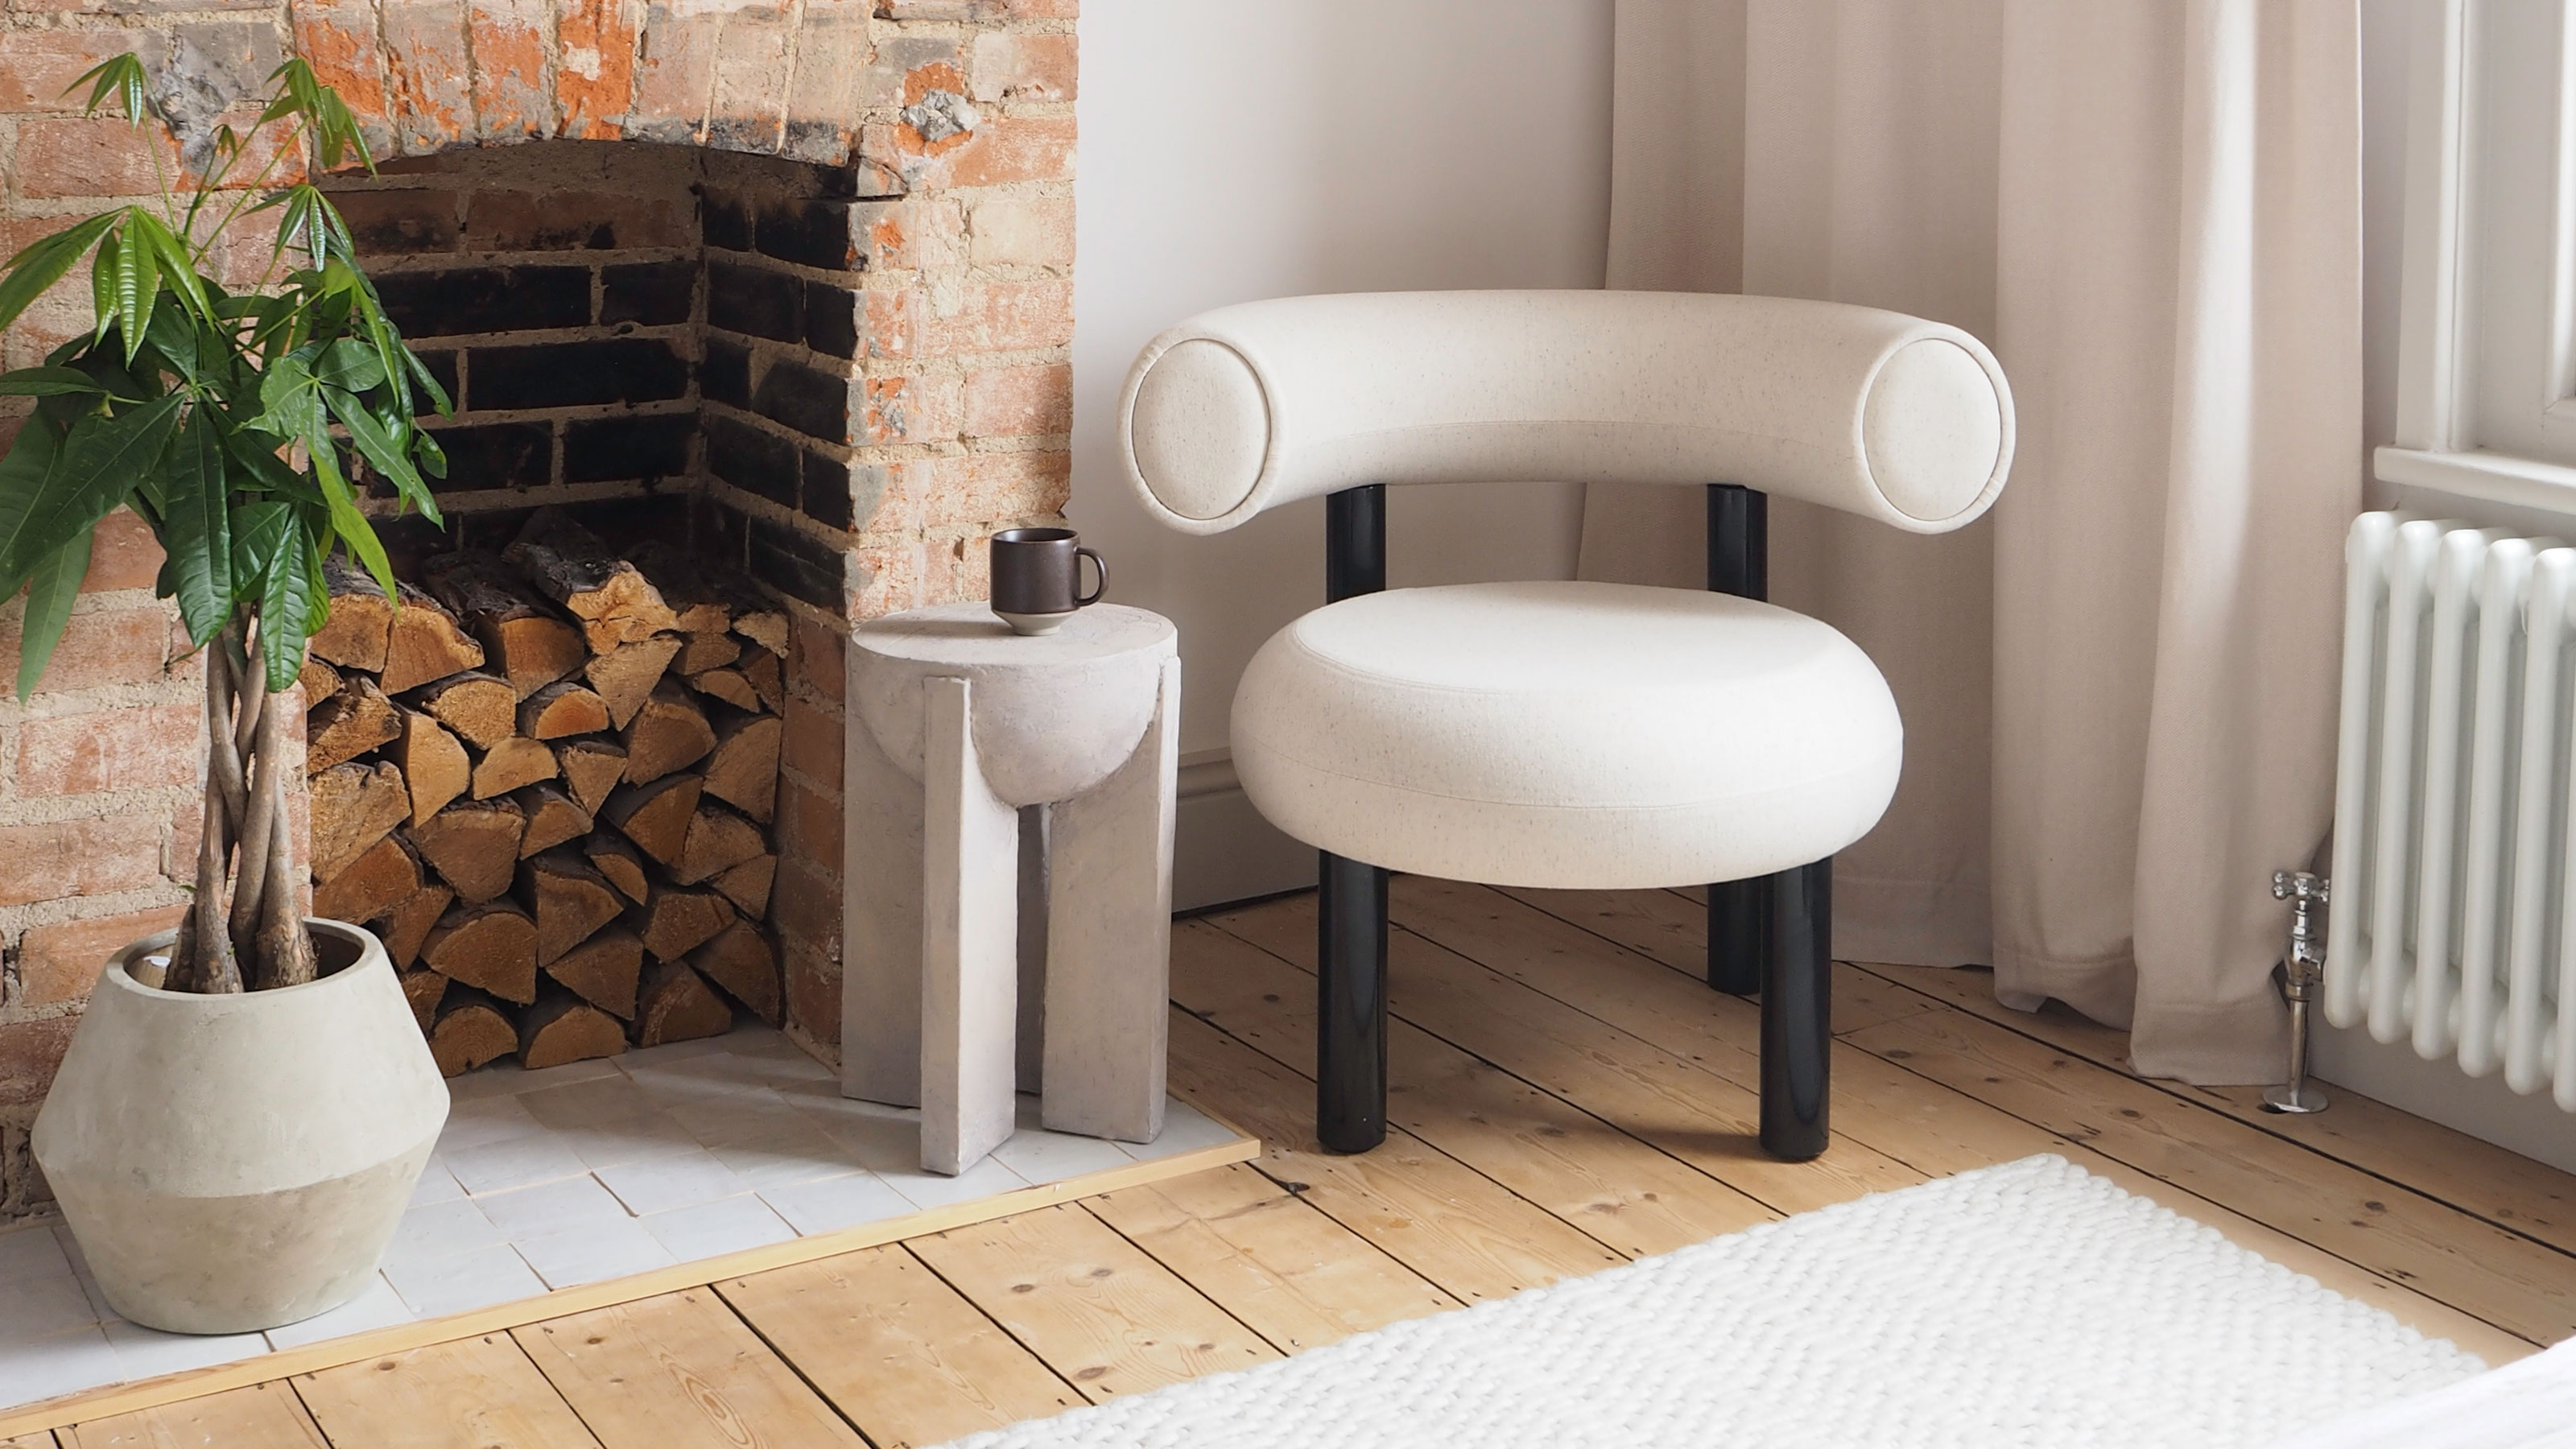
- Level: difficult
- What do you do: make stable legs/base, attach the bowl from the bottom, cover with putty/plaster for texture, paint with "stone" or matte paint.
- Tip: Stability is key. If it wobbles, the whole effect disappears.
18) RÖDEBY bamboo armrest table
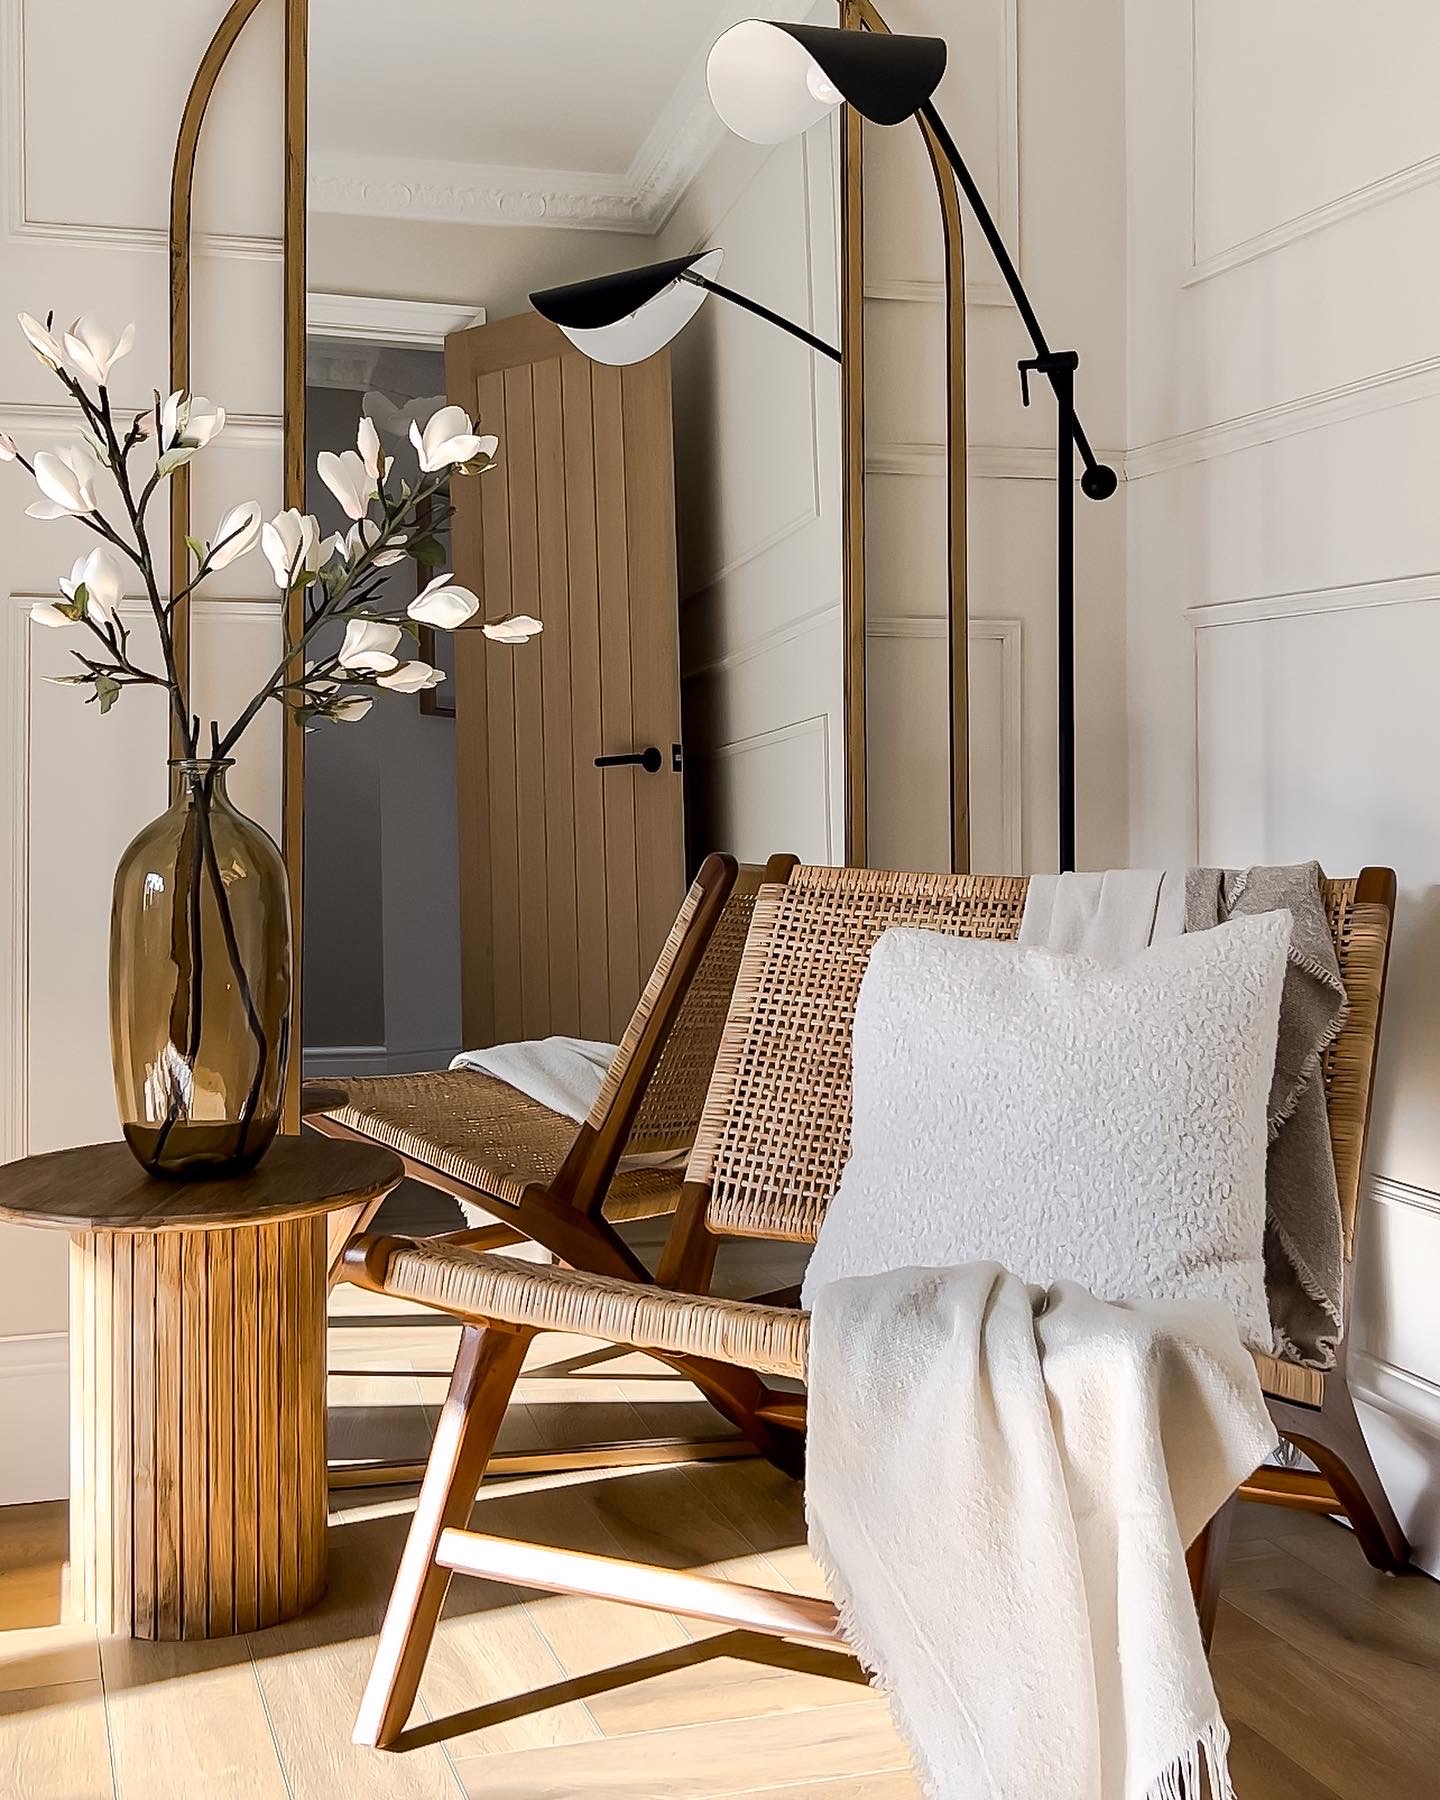
- Level: medium
- What you do: you make a base (e.g. a flower pot), wrap it in bamboo, put a tray/tabletop on top (e.g. a rotating one), finish it with wax or oil.
- Tip: cut the bamboo cleanly (with a fine saw blade), then sand the edges.
19) Mushroom lamp from KARAFF and BLANDA
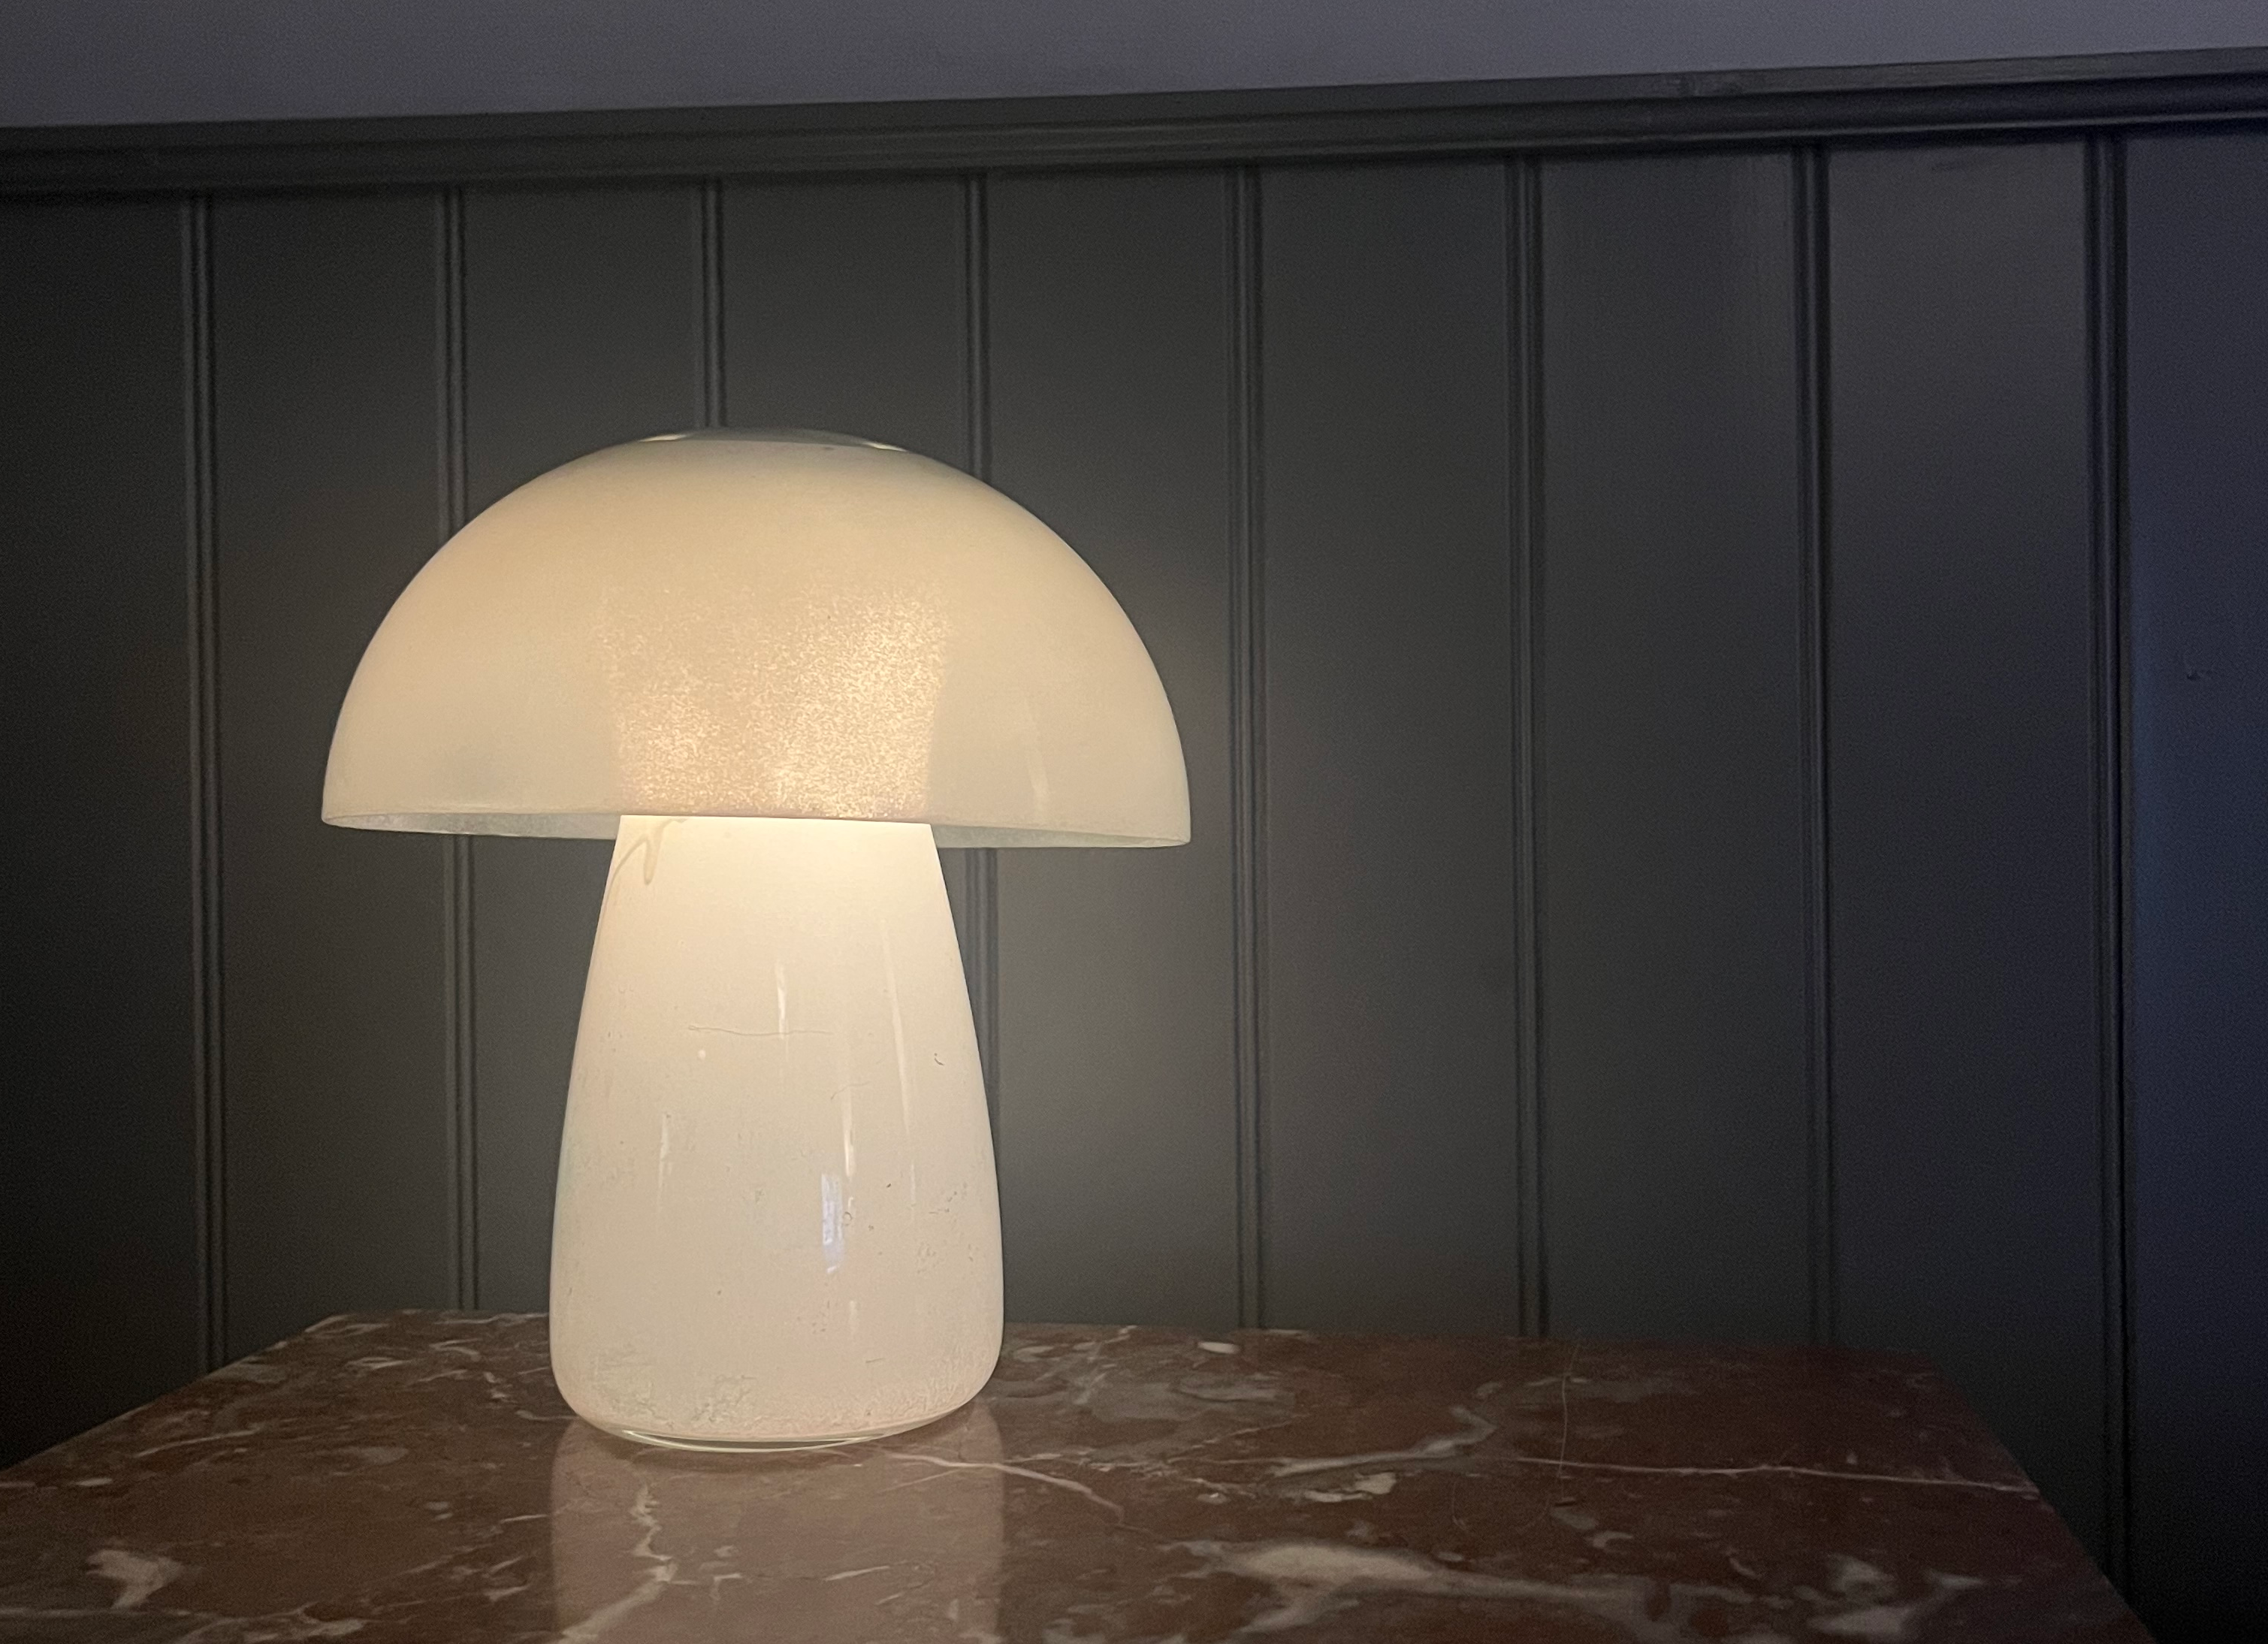
- Level: easy
- What do you do: paint the insides of the elements (to make the light soft), place the lamp in a vase, cover it with a bowl as a lampshade.
- Tip: Don't mess with wiring unless you have experience. A ready-made, safe lamp is a better base.
20) KALLAX in Mediterranean style (oily-textured)
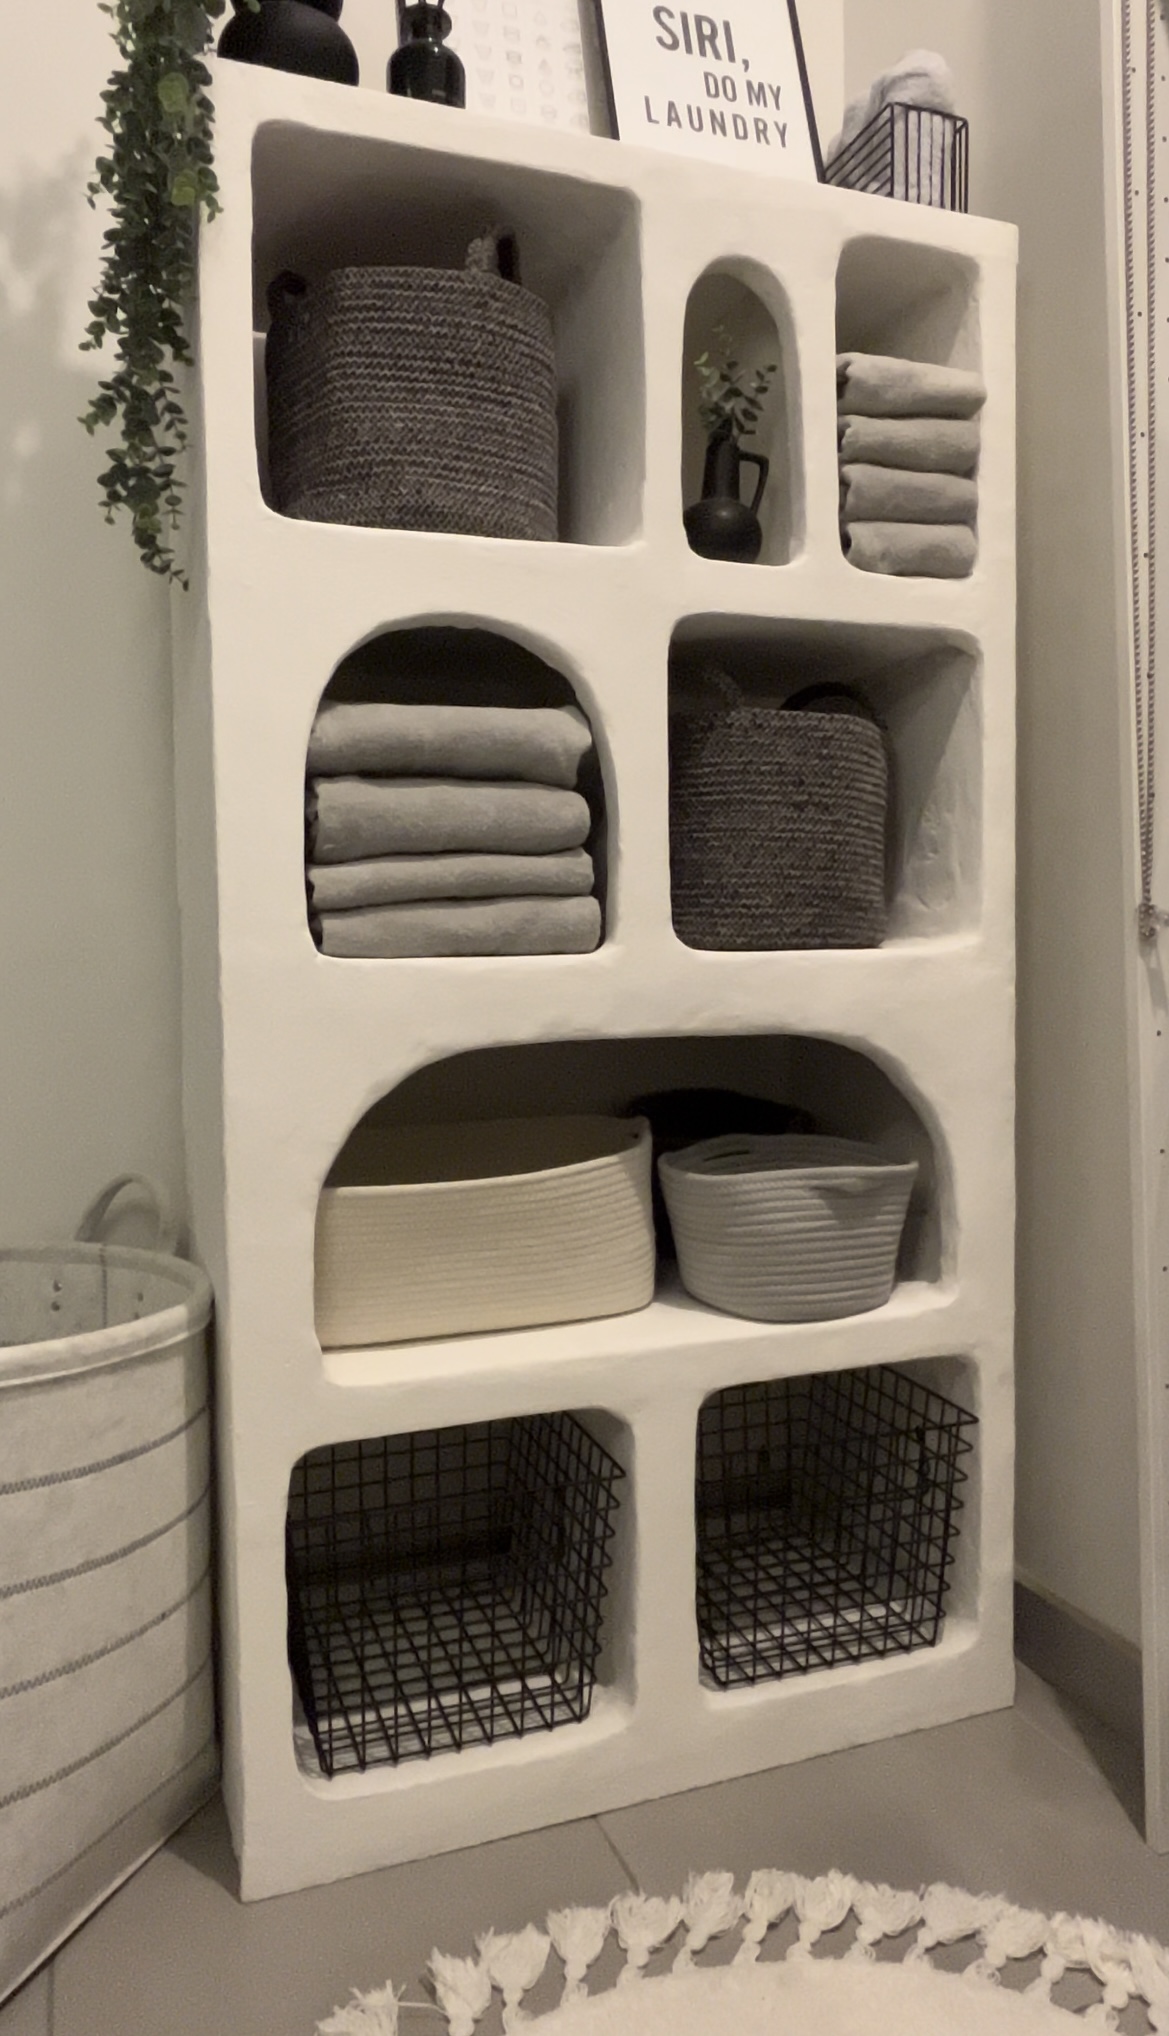
- Level: difficult
- What do you do: change the layout of the partitions, add polystyrene/boards to the extensions, make roundings, apply a mass (e.g. tile adhesive + texture), sand, protect with wax.
- Tip: This is a hack where minor irregularities are OK. As long as the overall look is consistent.
What do I need to watch out for?
- Safety and stability: high and heavy furniture must be anchored to the wall.
- Paint without preparation: no sanding or priming results in chipping. Always.
- Even spacing: The milling/trimming must maintain a rhythm. Distance and a spirit level are your friends.
- Cutting and edges: tape the line, cut gently, finish with sandpaper.
- Moisture: in the kitchen/bathroom, protect with varnish, not just paint.
Practical conclusions
- If you want "a lot of effect" without tools: overlays, handles, legs, painting.
- If you want a premium effect: milling + one color + decent hardware.
- If you want an organic style: rattan/bamboo and warm finishes (oil, wax).
The best hack is the one you don't abandon after two hours. Choose a difficulty level that suits your tools, not your ambition.
FAQ – frequently asked questions
Is it possible to do an IKEA hack without a saw or jigsaw?
Yes. Choose from overlays, replacement handles and legs, veneer, or just paint.
What is the most common cause of a “cheap look” after a hack?
Lack of preparation for paint: poor primer, lack of sanding, weak tape, rushing.
What gives the greatest premium effect at the lowest cost?
New handles + lifting on the legs + one, well-applied color (preferably matte or elegant semi-matte).
Is rattan difficult to assemble?
Not if you attach it from the back and make a frame. The most work is cutting it evenly and stretching it.
Bibliography
Inspirations: Livingetc, “42 IKEA Hacks That Prove Even Inexpensive Flatpack Can Still Create a Designer-Look Home” (accessed: January 26, 2026).


0 comments